
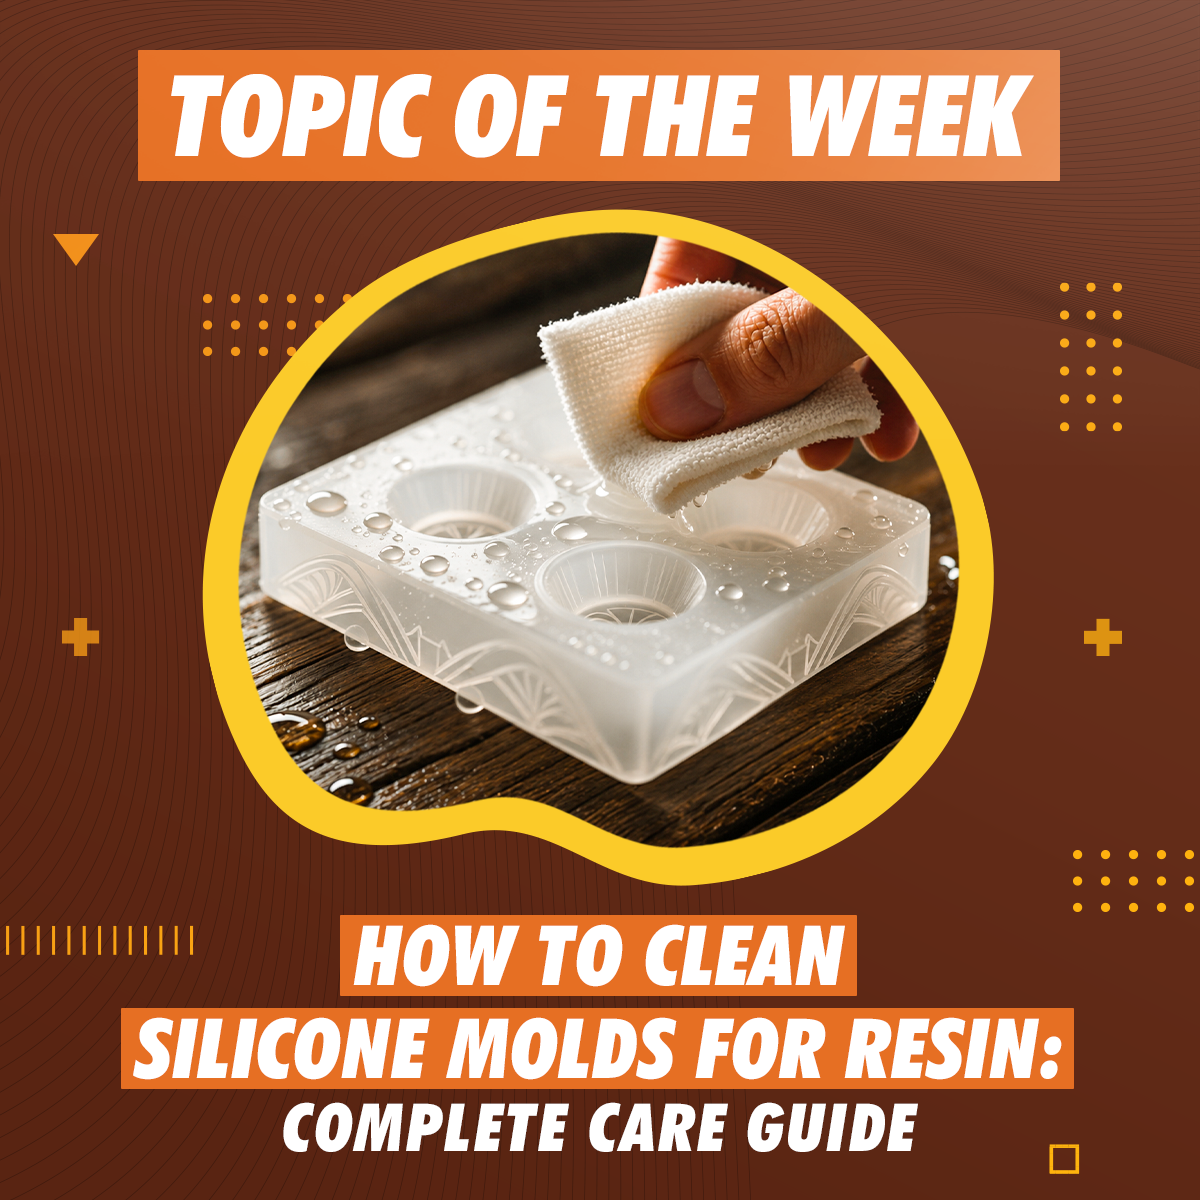
If you work with epoxy resin, silicone moulds can quickly become some of the most useful tools in your craft room. They make it possible to create jewellery, coasters, charms, figurines, trays and countless other resin projects with clean shapes and detailed surfaces.
But cleaning and caring for moulds after a project is easy to overlook. Resin residue, dust, pigments and glitter can build up inside a mould over time, and whatever remains on the surface may show up in your next casting as rough patches, trapped particles or an uneven finish.
Fortunately, cleaning silicone resin moulds is usually simple. For everyday care, warm water, mild washing-up liquid and a soft sponge are often all you need. Below, we'll cover the basic cleaning routine, what to do when resin gets stuck, common situations resin crafters run into, and how to store moulds to help extend their usable life.
Quick Answer: How Do You Clean Silicone Moulds for Resin?
The best way to clean silicone moulds for resin is to remove any loose resin first, wash the mould gently with warm water and mild washing-up liquid, rinse it thoroughly and allow it to air dry completely.
For stubborn cured resin, try soaking the mould in hot, but not boiling, water to help loosen the residue. A short 10–15 minute stay in the freezer can also make some cured resin easier to release. Flex the mould gently and peel the resin away rather than scraping or cutting it out.

| Problem | Best solution |
|---|---|
| Dust or lint | Soft cloth or the sticky side of tape |
| Small cured resin pieces | Gently peel away with fingers |
| Sticky, uncured residue | Remove gently first, then wash |
| Stubborn cured resin | Hot (not boiling) water or the freezer |
| Glitter or mica left inside | Rinse, then lift remaining particles with tape |
| Soap residue | Rinse thoroughly and air dry |
Why Cleaning Your Moulds Matters
Silicone is the standard material for resin moulds because it's flexible and resin releases from it easily (the Wikipedia article on silicone covers the material science behind that behavior). But every casting is a perfect copy of the mould surface it cured against. Leftover resin film, pigment traces, glitter, dust or oils on the mould transfer straight into your next project: an uneven surface, particles sealed into clear resin, or a finish that suddenly looks different.
That last point is worth remembering as a diagnostic: if your resin projects change unexpectedly even though your resin and technique haven't, check the condition of your moulds first.
How to Clean Silicone Moulds for Resin: Step by Step
Step 1: Demould Gently and Inspect the Mould. Avoid pulling or stretching the silicone aggressively. Flex the mould around the edges of the casting and work your way around gradually. Once the piece is removed, check the cavity carefully, especially around corners, edges, fine details and the bottom of the mould.
Step 2: Remove Loose Residue. If small pieces of cured resin lift easily, peel them away with your fingers. For dust or tiny particles, a soft wipe or the sticky side of tape can help. Never use a knife, razor blade or another sharp object to dig resin out of the mould. A small cut in the silicone can become visible in every future casting.

Step 3: Soak in Warm, Soapy Water. Fill a bowl with warm water and add a small amount of mild washing-up liquid. Let the mould soak for around 15 minutes to help loosen residue.
Step 4: Clean With a Soft Sponge. While the mould is still wet, wipe the surface gently, paying particular attention to detailed areas where pigment, glitter and resin fragments can collect. If your sponge has an abrasive side, don't use it on the mould surface.
Step 5: Rinse Thoroughly. Rinse away all traces of soap. Residue left behind may affect the surface of your next pour.
Step 6: Air Dry Completely. Shake off excess water and leave the mould on a clean, dust-free surface to air dry naturally. Avoid rubbing the inside of the mould with a towel, as fibres may remain on the silicone and become trapped in your next casting. If you need to protect the mould while it dries, cover the area loosely with a clean container or dust cover without letting it touch the mould surface. Make sure the mould is completely dry before using or storing it.

What if resin is stuck in the mould?
The best approach depends on whether the resin is still sticky or has fully cured.
Uncured or sticky resin
If you demould a project and find liquid or tacky resin inside the mould, don't start by scrubbing it with water. Wet scrubbing can spread the sticky resin over a larger area.
Instead:
- Remove as much residue as possible with disposable kitchen roll or gentle wipe.
- Fold to a clean section with each pass so you lift the resin rather than spread it.
- Once most of the residue is gone, wash the mould with warm soapy water.
- Rinse thoroughly and allow it to air dry.
If the same problem keeps happening, look beyond the mould. Persistent sticky residue can indicate an issue with measuring, mixing or curing conditions. Our guide to how long epoxy resin takes to cure explains the most common causes.
Cured resin that won't let go
Fully hardened resin in corners and details gives you two safe options. Soak the mould in hot, but not boiling, water: warmth softens the grip of the residue, and once it loosens, peel it away gently. If warm water doesn't do it, go the opposite direction: put the mould in the freezer for 10–15 minutes. Cooling helps cured resin release without damaging the silicone: flex the mould after taking it out, and the piece usually pops free. Whatever you do, don't dig resin out with anything sharp.
Real-Life Cleaning Situations
- A thin sticky film inside the mould. If you finish a casting and notice a faint tacky film rather than solid residue, don't immediately reach for alcohol or a rough sponge. Start with the gentlest method: a soft wipe to lift what moves, then a warm soapy wash. If a film like this appears regularly, look at your measuring, mixing and room temperature, because a well-mixed pour shouldn't leave one.
- Resin stuck in tiny details. Moulds for flowers, letters, jewellery and figurines trap fragments in places no sponge reaches. After the freezer or warm-water trick, press the sticky side of packing tape or a piece of adhesive putty into the detail and lift: the fragment usually comes with it. Repeat with fresh tape until the detail is clear.
- Glitter or mica powder left inside. Pigment particles cling to silicone with static. Rinse the mould first, and lift the survivors with tape or putty after drying. Skip this check and your next clear casting will sparkle in ways you didn't plan: a quick tape pass before every pour costs seconds.
Common Cleaning Mistakes
| Cleaning mistake | What can happen |
|---|---|
| Scraping with a blade or knife | Silicone can be cut, leaving marks on future castings |
| Using abrasive scourers | The mould surface may become scratched or dull |
| Excessive stretching | The mould can become permanently distorted |
| Using unsuitable chemicals | Silicone may be damaged; always check compatibility |
| Boiling water | Unnecessary heat exposure for normal cleaning |
| Storing while wet | Moisture can remain on the mould and affect the next pour |
This ratio applies specifically to Craft Resin Deep Pour. Different epoxy brands have different component densities, so always check whether the same adjustment applies to other products before using this method.
The basic rule is simple: if cleaning requires force, stop and switch to a gentler method.
Can You Clean Silicone Moulds With Alcohol?
This question comes up constantly, because isopropyl alcohol is used for many other cleaning jobs in resin crafting. For moulds, however, Craft Resin's mould-care guidance recommends avoiding alcohol for routine cleaning, because it may damage or dull the silicone surface, and a dulled mould surface can affect the glossy finish of future castings. For everyday cleaning, warm water and mild washing-up liquid do the job without that risk. If you're using a mould from another manufacturer, follow that manufacturer's care instructions: silicone formulations differ, and so does their chemical compatibility.
Drying and Storing Silicone Resin Moulds
Cleaning is half the process; what happens next decides how long the mould lives. After rinsing, shake off excess water, set the mould on a clean surface, and let it air dry naturally, protected from dust. Once completely dry, store it somewhere clean, dry, away from direct sunlight, and where nothing will crush or bend it. Craft Resin recommends keeping clean, dry moulds flat in sandwich or ziplock bags: the bag keeps static-attracted dust off, and flat storage protects the shape, because silicone stored folded or squashed for a long time can permanently keep that shape.
The routine is simple: clean → rinse → air dry → protect from dust → store flat.
Before Using Your Silicone Mould Again
The full workflow isn't simply clean → done.
Think of it as:
clean → inspect → prepare → pour
Before every pour, take a few seconds to check:
- Is the mould completely dry?
- Is there any resin residue in corners or fine details?
- Is there dust, lint, glitter or pigment inside?
- Is there any soap residue left from cleaning?
- Are there cuts, tears or visibly dull areas?
- Is the mould still holding its original shape?
If everything checks out, you're ready to pour. If you use a mould release spray, this is its moment: a light coating before pouring, left to sit for about a minute, makes demoulding easier and is part of Craft Resin's recommended mould-care routine. A release product doesn't replace cleaning, though: the mould still needs to be clean underneath. And if bubbles tend to follow your pours no matter how clean the mould is, our complete heat torch and bubble-free resin guide covers that side of the process.

Silicone Mould Care: How to Make Your Moulds Last Longer
Good silicone mould maintenance is mostly about gentleness, and it's the same regardless of which brand made your mould. Demould by flexing, never by force. Clean after each project whenever you notice residue, rather than letting layers build up. Keep sharp tools and abrasives away from the cavity, don't over-stretch the silicone, and store moulds flat, dry and dust-protected. If a mould becomes permanently dull or torn, it may be time to make a replacement.
Need a New Mould? Choosing Mould-Making Silicone
If you make your own moulds, silicone hardness is the one choice that shapes everything else. Craft Resin offers two platinum-cure RTV silicones in the mould-making silicone collection, both with a simple 1:1 mix ratio by weight and room-temperature curing.

Craft Resin Silicone 15A is the softer, more flexible option. It is better suited to jewellery, charms, figurines and detailed shapes where the mould needs to flex around fine features during demoulding.
Craft Resin Silicone 30A is firmer, best for trays, sculptures, candles and larger forms where shape retention and straight walls matter more than flexibility. The right hardness depends on the shape you're reproducing.
Frequently Asked Questions
How do you clean silicone moulds after using resin?
Remove any loose resin first, then wash the mould gently with warm water and mild washing-up liquid. Use a soft sponge if needed, rinse thoroughly, and allow the mould to air dry completely before using or storing it.
How do you remove cured resin from silicone moulds?
Try soaking the mould in hot, but not boiling, water to loosen the cured resin. If necessary, place it in the freezer for around 10–15 minutes, then flex the silicone gently and peel the residue away. Avoid scraping it out with sharp tools.
Can you clean silicone moulds with washing-up liquid?
Yes. Warm water and mild washing-up liquid are a good choice for routine silicone mould cleaning. Rinse the mould thoroughly afterwards so no soap remains on the surface.
Can you clean silicone moulds with alcohol?
For routine cleaning, warm water and mild washing-up liquid are the safer default. Some silicone formulations may be affected or dulled by alcohol, so only use it if the mould manufacturer confirms that it is compatible with that particular silicone.
Can you clean silicone moulds with Clorox wipes?
Disinfecting wipes are not the best choice for regular resin mould cleaning unless the manufacturer confirms that the ingredients are compatible with the silicone. Warm water and mild washing-up liquid are simpler and more predictable for everyday care.
How often should you clean resin moulds?
Clean them whenever you notice resin residue, pigment, glitter, dust or other debris. Regular light cleaning is generally easier on the mould than allowing contamination to build up over multiple projects.
How should silicone resin moulds be stored?
Store them completely dry, protected from dust and away from direct sunlight or excessive heat. Keeping moulds flat in protective bags can also help prevent them from being bent or compressed during storage.
Why is my silicone mould becoming dull?
A dull surface may result from normal wear, residue, abrasion or an unsuitable cleaning product. If the silicone surface itself has become permanently damaged or dull, cleaning may not restore the original finish, and that change can show up in future castings.
Shop the resin used in this guide