


A Top Coat is not necessarily necessary when using epoxy resin for artistic purposes because it can already create the desired glossy appearance. You may need to add a Top Coat to your work if the original coat is smoother or if you need to give your creation a dome-like appearance.
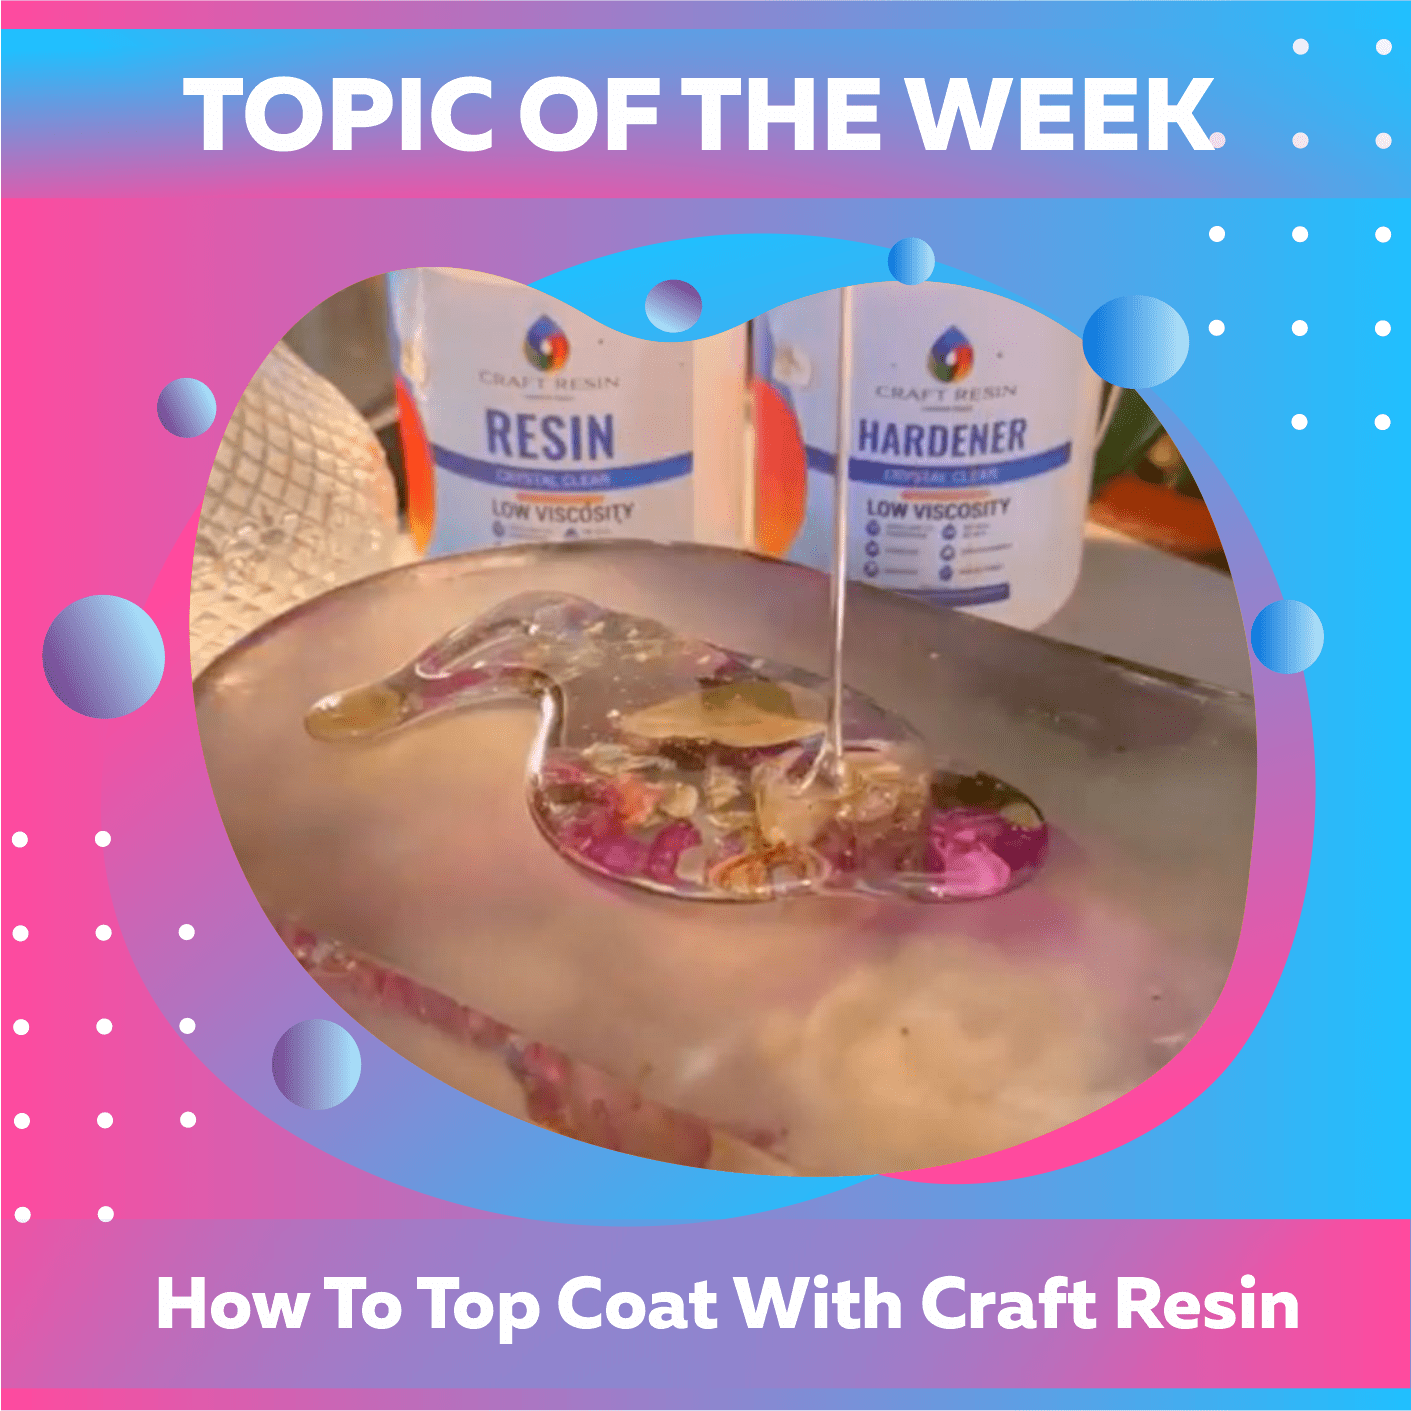
If you want to learn how to apply a Top Coat of clear epoxy resin UK to your project, read on!

Adding a top coat to your crafts may help fix issues like bubbles forming on the surface, amine blushing appearing on the top of your items during the drying stage, and dirt and debris building up on the top of your works. Take time if you see any of these problems after completing your work. If you can eliminate these flaws and add another coat of resin to your work's finish, you can make it look as good as new.
The first step in applying a final coat is to smooth up the top surface of the item using sandpaper. Adding extra crystal clear epoxy resin after you have completed your work will not cause the layer that has been cured to join together. Before you can pour a second layer of epoxy resin on top of your object, you must remove any imperfections from the first layer by sanding it down using sandpaper with a grain of around 120 or until it is completely smooth.
It is important to remember that sanding epoxy resin will make the resin seem scuffed, but applying another layer will make the scuffs disappear. The scuffed surface is essential for the resin to bond to the first layer.

You may put the finishing touches on the work you've done on the edges of your projects in a few ways.
1 - To prevent your resin creation from sinking into a desk or countertop covered with protective plastic sheeting, prop it up with a paper cup. If you use a substance like tic tape to cover the bottom of your craft creation, any drips after you're done will be much easier to clean up. A second layer of resin mixture is poured on top of the first and allowed to trickle over the sides. You'll have more control over the consistency of the pour if you take your time. Once you're certain that the resin has covered all the edges, you may lay it aside to solidify while examining it with your gloved finger.
2 - The second choice is to use liquid latex, which can be painted onto the bottom or sides of your creation and then used to remove any resin mixture that hardens beyond the boundaries of your work as it dries. You may use this method before or after the resin mixture has cured. Our video instruction on Liquid Latex provides an in-depth explanation of the technique.
After employing either procedure, it is essential to conduct a check for the presence of bubbles in the freshly poured top coat. If they occur, you may get rid of them by using a heat torch or a spray that contains alcohol to disperse them. Because of the apparent risks, you should not use the heat torch after spraying alcohol. During the first few hours of the process, you need to be on the lookout for new bubbles to determine whether or not you need to begin the procedure all over again.

As an added creative touch, you could sprinkle over some glitter, which wouldn't overpower the underlying colors but would create a nice shimmer. Most of the time, a simple layer of transparent epoxy resin may serve as the final finish. However, you will have the option to use your imagination if you so want. It is up to your preference and experimentation whether or not to use embellishments like glitter in your top coat. This is a natural step in the creative process, although embellishments like glitter in the final layer are unnecessary.
Our regular craft resin starter kit is safe for use with food, resistant to heat, and scratch-proof after curing for 21 days. The resin works may withstand heat up to 200 degrees Fahrenheit (93 C). Our resin's quality will remain intact whether or not your finished products are covered with a protective layer. An additional coating is unnecessary since the resin combination already offers protection.
Our Deep Pour clear epoxy resin kit has a lower heat resistance of 18 degrees Fahrenheit (80 degrees Celsius) after 21 days of full curing. Our normal resin can resist temperatures up to 200 degrees Fahrenheit (93 degrees Celsius). Still, if you need to endure greater temperatures, making your object with the Deep Pour resin may be worth it, and then covering the top with our standard resin. You may use our normal resin on top of our Deep Pour resin when you apply the aforementioned stacking procedures.
Topic Of The Week Giveaway:
We have attached a giveaway to this Topic Of The Week announcement on our Instagram platform; this is helping us to spread the knowledge of how to use epoxy resin further, but also enabling anyone who helps us to share this information to win free resin and mica powders.

To enter the weekly giveaway, please see the latest post pinned to the top of our Instagram feed and follow the instructions to enter:
Team Craft Resin

