


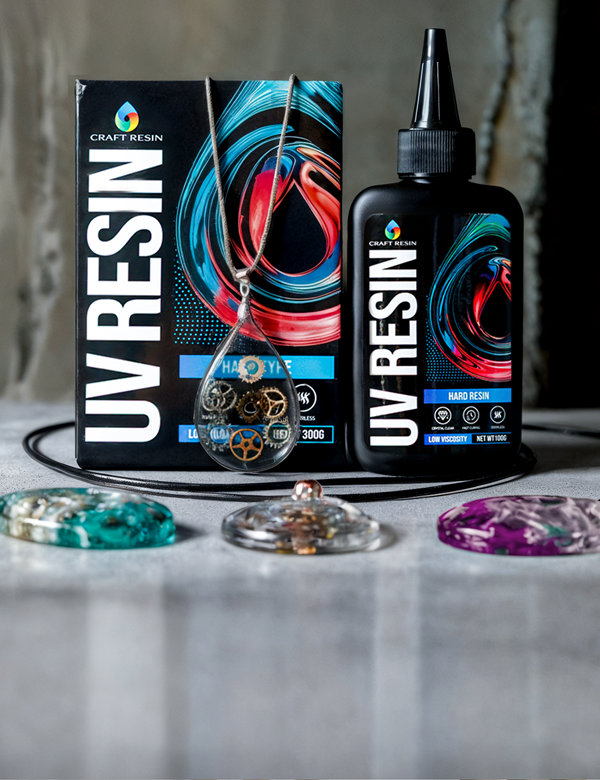

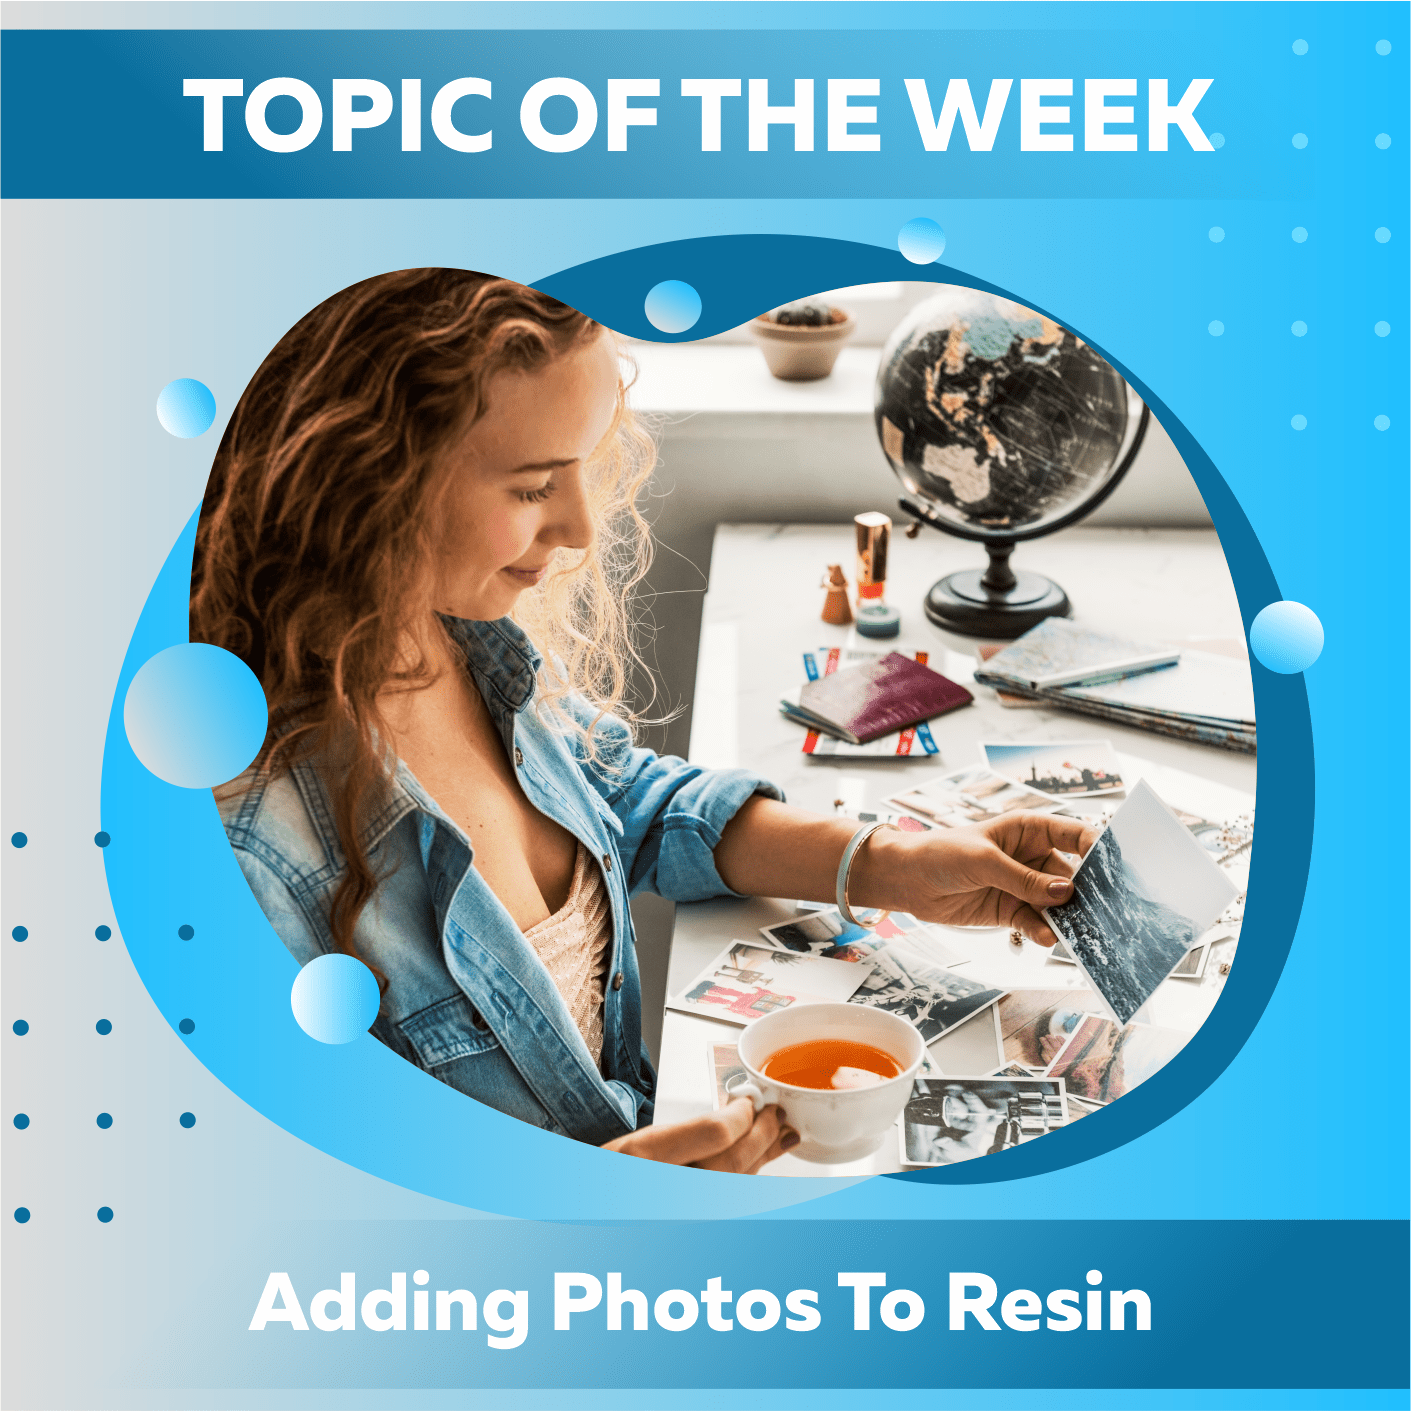
At Craft Resin, one of the most often asked questions is, "Can I add photos to the resin?" Casting images in resin is a fantastic way to display some of your most cherished memories for many years. Once you have mastered the techniques required, you may use epoxy resin to create pictorial projects for yourself, to present to others as gifts, or to sell as part of a business that deals in epoxy resin.
Before we can even begin to explore how to build such companies, we have incredibly important news that we need to make first.
While attempting to repair a photo that may be one of a kind in the world and difficult to recreate, you should first get some practice on a picture that doesn't hold as much personal significance for you. Before attempting to replicate any of your most cherished moments in resin, it is recommended that you first hone your skills and get experience working with less significant images.

With that out of the way, let's dive further into the process of casting images into sculptures using epoxy resin:
Before you get started, make sure the photos are printed on paper (glossy picture print paper is ideal), which will prevent the epoxy glue from seeping into the paper and crumbling it.
For instance, if you try to print an image using the computer in your house and standard copy paper, you will be satisfied with the results. Either get the images printed by a professional or check whether your printer can print on glossy photo paper. Both options are available to you. You can also take instant Polaroid images, which may be shot in the moment or in advance and printed later from your phone (provided you have a more current model).

Before adding the resin, please wait until your printed images have completely dried. Using a primer on photographs that have been printed with ink, such as Mod Podge, is recommended. This will help seal the prints and prevent the ink from bleeding.
Mod podge a picture by applying the mixture with a paintbrush in several thin layers and letting each layer dry between uses. Since Mod Lodge dries clear won't leave any visible application traces, such as streaks or lines.
Resin can be poured directly into a mold after being measured, mixed, and poured. Doing so will provide the foundation for your work. You can add the epoxy resin starter set and finish your project as soon as your photograph fits where you want it to in the mold without shifting or sinking. If you leave your resin transparent, you may do this. If you plan on not tinting your resin, you may skip the measuring and mixing and go straight to pouring it into your mold. Doing so will provide the foundation for your work.
Please read the instructions below to learn how to correctly measure, mix, and pour the resin. It is imperative that you fully understand the following steps before beginning any epoxy resin project:
The basic techniques to using Craft Resin
Casting pictures may be done in our normal or Deep pour resin. Both of these resins are available to purchase. It is more necessary to decide what project you will use the cast photographs for than to examine whether or not resin can cast images.
You may use our Deep Pour resin to cast your graphics into larger, more substantial goods or use our normal resin for smaller, more delicate crafts. Please read and follow the directions below if you need our Deep Pour resin for the project you are working on.
How to use Craft Resin Deep Pour epoxy resin
Your design may be given color by combining Craft Resin Mica Powders with a portion of the gallon clear epoxy resin mixture that will go under the pictures. Doing so will yield the desired effect. It is self-evident that the photograph will be obscured if you pour a colorful layer over the end product. To see your images, the top layer needs to be see-through. This is a need.

After waiting for forty to fifty minutes, gently place your photograph on top of the resin, and then use your fingertips to press it down ever-so-slightly. If you take these preventative measures, you should be able to reduce the number of behind-the-image bubbles that appear.
Once you've got your picture where you want it, you may add another resin layer. There is a window of time, perhaps three to five hours after pouring your first layer of resin, during which you can pour a second layer without worrying about it not sticking to the first. When the top layer of resin is applied, there will be less movement of the image since it will bond to the lower layer to some degree. If it shifts more than you'd like, you may nuzzle it back into position using a mixing stick or a pair of tweezers.
Be careful while using a heat torch to eliminate bubbles in your work. Do not risk damaging your photos if you only place a tiny resin layer on them for protection. If you want to remove bubbles on the surface without causing too much harm, an alcohol spray might be used instead of heat.
Please check your creation after 24 hours have passed. However, it may require further time before removing it from the mold. Because you have built it up in layers, it may take some time to cure completely. If possible, avoid touching it until after the 72-hour threshold has passed.
After the resin has hardened, you may remove your object from the cast and give it the finishing touches it needs. For example, you can sand down any resin that spilled over the borders of the mold, or you might add extra colors, such as a gold edge. These finishing touches can be done after the resin has dried.

If you would need further information before getting started, you may view a video that we have uploaded to our channel on YouTube that explains how to put images into resin:
How to add photos to epoxy resin
Topic Of The Week Giveaway:
We have attached a giveaway to this Topic Of The Week announcement on our Instagram platform; this is helping us to spread the knowledge of how to use epoxy resin further, but also enabling anyone who helps us to share this information to win free resin and mica powders.

To enter the weekly giveaway, please see the latest post pinned to the top of our Instagram feed and follow the instructions to enter:
Team Craft Resin
