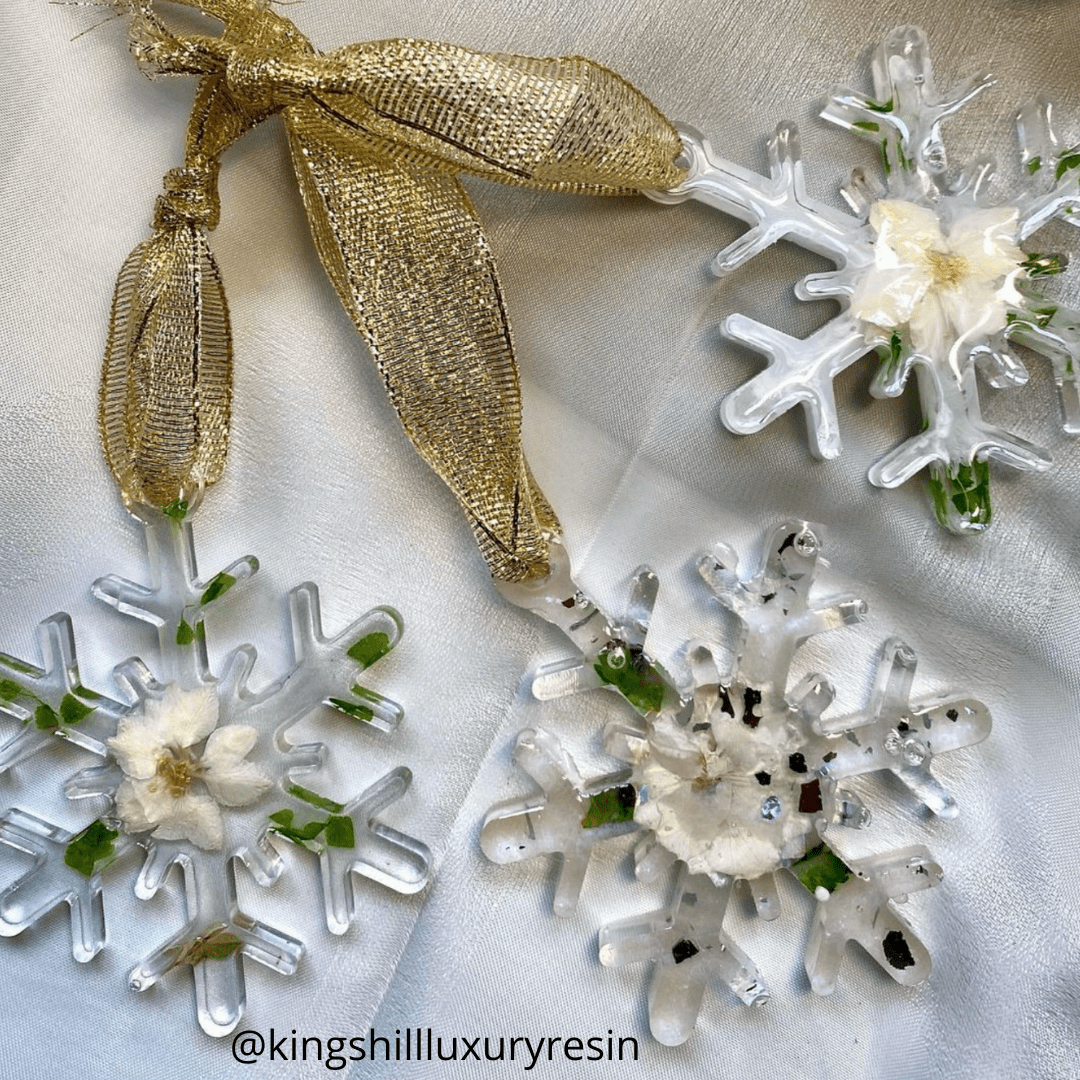
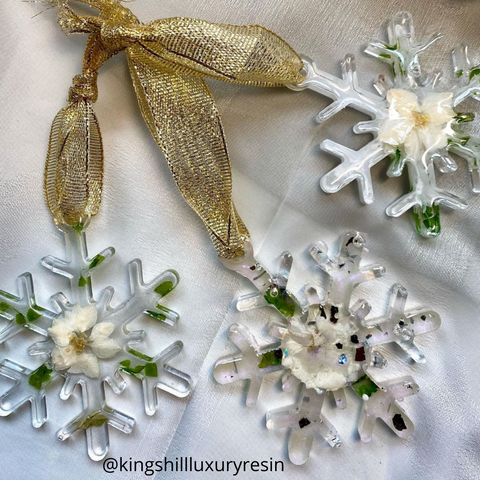
If you are brand new to using epoxy resin, but you’ve been scrolling through Social Media recently and you have seen lots of beautiful Festive resin decorations popping up, we’re here to tell you that you too can make items like these too!
It doesn’t matter if you have been creating resin for years, or this is your first time, you can create beautiful Festive decorations that will look incredible in your home.
And the great thing about making decorations yourself is that you can colour coordinate them to your exact Festive decorating needs, no need to trawl through the shops searching anymore!
Let's go through a few different makes that you can get started with as soon as your Craft Resin kit arrives:
Tree decorations
Festive coasters
Festive earrings
Tree Decorations:
Epoxy resin makes for great decorations for all kinds of purposes but especially for hanging on Christmas Trees. This is because epoxy resin once cured is really light, compared to other tree decorations that can be very heavy. Epoxy resin decorations enable you to hang your decorations on your tree with minimal branch drooping!
Some of the most popular resin Christmas Tree decorations are items like snowflakes, Christmas trees and flat bauble shaped designs.
First you’ll need some festive molds. These can be purchased from lots of different places, a simple google search should give you lots of options to choose from. We don’t supply molds here at Craft Resin.
Be careful when choosing molds, as you can get two kinds, one is a matt mold, this will give your projects a matt look to them. The other is a shiny mold, this will give your projects a more glossy look to them. Normally shiny molds won’t be labelled as shiny, but matt molds will be labelled as matt.
Once you have your Festive molds and your resin kit, you’ll need to check through our guidance on other handy items to have - Basic Kit.
Before you mix your resin, have a think about the look you’d like to achieve with the creation that you will be making. If you’re creating a snowflake for example, what colour do you want it to be? Do you want it to be more than one colour?
Think about what other things you could add into your project to make it more Festive, like glitters, or gold flakes. These will really catch the lights on the tree and make your resin decorations stand out and look incredible.
Once you have followed the guidance in the recommended technique and your resin is ready to go, you’ve got your resin coloured exactly as you want it, you can go ahead and pour it into your molds.
If you have never poured resin before, start slow, you can always add more, but you can’t take it out again once you're halfway through.
Our resin is a low viscosity, this simply means it’s quite runny. Some resins can be thicker and less runny. So think about this if your adding things into your project, if you add in heavier items like thicker glitter, dried festive foliage etc, these can sink down to the bottom of your mold, if you don’t want this to happen, pour in layers and add these items in as you go and as the resin cures (hardens up).
Once the resin is poured into your molds you will then need to leave it to cure, this is the stage where the resin starts to harden up.
Craft Resin curing time is about 24 hours: this refers to the period of time during which the product goes through the chemical reaction that takes it from a liquid to a solid.
After about 24 hours, Craft Resin will reach a 95% solidity rate: at this point, it will be hard to the touch and you can hang your artwork on the wall. Clear epoxy resin is fully cured over the next 2 days, when curing reaches the 72 hours mark. At this point, you can hang your resin pieces on your tree or package and ship your artwork without risk of damaging the resin surface.
Curing times can vary, so please don’t rush this part, if you do you can damage your work. If for some reason the project hasn’t cured after this time, something may have gone wrong during the measuring and mixing stages. You may need to revisit the recommended technique to check you have followed the guidance to the letter, or send us a message and we may be able to help direct you to where you may have gone slightly wrong.
Sometimes you do need to experiment and practise with resin before things go exactly to plan.
One factor that really can affect your project and how well it turns out, is the temperature of your workspace but also the temperature during the curing process, they need to be consistent throughout and between 70-75F or 21-24C.
So once the curing stage is over you can go ahead a de-mold your work. Now depending on your mold this can sometimes be tricky and you might need to be a bit forceful with it. The cured resin should be hard enough to withstand this.
And there you have it your resin tree decoration. You may need to tidy the edges up, if any drips have spilled during the pour these can be sanded down. You can add in a ribbon so that it can hang on the tree and you can also make the edges look fancier with something like a gold/silver metallic permanent marker pen.
If you order one online and you find it doesn’t quite have the staying power required, simply edge your decoration with the pen you have, leave to dry for a few hours, then add a layer of Craft Resin over the top of it with a small paintbrush to seal it in.
Festive Coasters:
Once you have mastered the above guidance for creating resin tree decorations, you pretty much just need to follow the guidance again to create other resin projects using different molds, like Festive Coasters.
The only thing you might need to change with coasters and other resin projects that may be thicker than tree decorations is the technique you use to pour.
To pour anything that is thicker than 1/4”, you will need to layer your work. This can actually be great for festive creations because most of the time you’ll be adding in different additional materials like glitters and other festive looking items, and so creating in layers can be a great way to add more depth to your work and what you add to your work.
You have two choices when pouring multiple layers:
The first is to pour your first layer, torch out the bubbles, cover and wait 3-5 hours until your epoxy resin bubble free reaches a jelly like stage. At this point you can pour on your next 1/4" layer, torch out bubbles, cover, wait 3-5 hrs and repeat until you reach the height you desire. This method is especially handy when pouring into a mold or a dam.
The second option is to let your first layer fully dry, then give the overall piece a light sanding and pour on your next 1/4" layer. Torch out bubbles, cover and let this layer dry. Repeat these steps as many times as you'd like.
Keep in mind that our 72 hour cure time recommendation is based on a 1/4" layer craft resin. The thicker your layers, the longer the cure time will be. It can take up to 10 days to fully cure, depending on how many layers you've poured.
Hopefully by now your getting a really good deal for how simple creating your own Festive resin projects can be. The great thing about creating with resin is experimenting and having fun with it. There are so many ways you can make Coasters look Festive.
One way to achieve a Festive look with coasters is to pour half of your coasters in a red resin colour, and the other half clear with gold/silver glitter/leaf in it. These will look festive because of the colours, but they can also be used anytime of year, making them really great for selling, as people will get more for their money with multiple uses throughout the year, not just at Christmas.
Another way is to buy Festive coaster molds with a Festive figurine indent in them, once you de-mold these after adding in the initial colour of resin, you can then add in a small amount in something like a brilliant white to make the Festive figurine section pop.
You can also stencil on festive writing, maybe some favourite Festive words like Ho Ho Ho for example.
Let your imagination run wild.
Festive Earrings:
Lastly, you have your tree decorated, you have the table set with your beautiful Festive Coasters, what about decorating yourself!
With some Festive jewellery like some Christmas Tree Earrings for example. Once again the only limitation to this is what mold you can find, although you can speak to a company who create molds and design your own if you’d like to.
So once again follow the steps we covered in the tree decoration section, but this time be very careful with how much resin you mix. Jewellery is tiny, and only needs a small amount of resin to create one set of earrings, you might want to get a few molds so you can create a few kinds to then gift to your friends and family.
And then also be careful when pouring resin jewellery. Definitely make sure you have your workspace covered and pour very slowly, it can easily pour out of control and spill over the side of your jewellery molds as they are so small and usually thin.
When decorating your resin jewellery, we do think that the louder the colour the better, the more your earnings will pop, but also think about adding glitters etc that add a Festive touch and some glamour to your Festive outfits.
Once fully cured remove them from their molds and then it’s time to attach the earring fixings. You can get sets online which come with all the attachments, or you can buy them separately. It will depend on what your mold is like, to what fixings you will need exactly, so do your research before you begin to find out what items you’ll need after you’ve completed the resin body to your jewellery.
There is lots of guidance on YouTube that can help you to learn how to use these jewellery fixings, they can be quite fiddly, but don’t let this put you off. With a bit of practice you’ll be attaching them in no time.
A great thing to do to help with creating Festive resin projects is to gain inspiration from others who have created Festive themed items. Most artists will have projects on their feeds you can gain inspiration from, like the artists featured today. Click on the images to view their feeds.
But this is where joining and being a part of something like our Facebook Community Group can come in really handy. Everyone in there is encouraged to share their ideas, their inspiration and how to create certain items too. We’ve even created an Educator Award to encourage this.
Join the group today and start learning resin:
So what Festive item will you create first? And where will you proudly display it in your home this Christmas?
Team Craft Resin

