


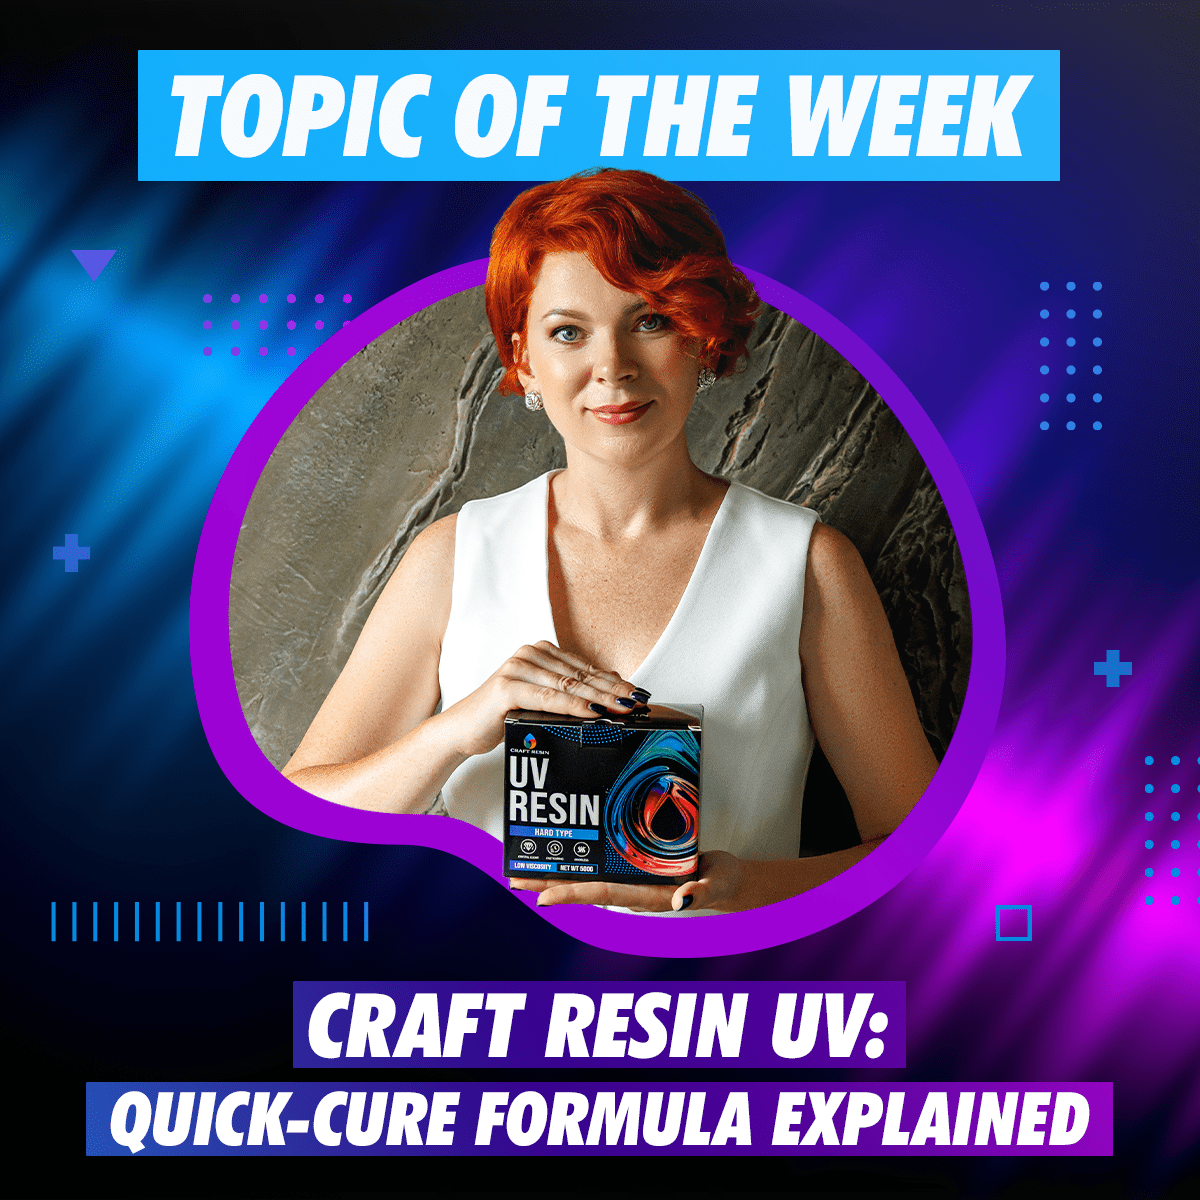
UV Quick Cure resin deserves its own guide because it behaves differently than slower epoxies. Its special photoinitiators respond only to UV-A light (typically 365–405 nm) and cure rapidly, so best practices for mixing, pouring, and curing can be counterintuitive. This guide will demystify the science and common pitfalls of UV resin, using research-backed tips to help both beginners and experienced crafters achieve crystal-clear, fully cured results with Craft Resin’s Quick Cure formula.
How UV Resin Cures
UV resin contains photoinitiators that absorb UV-A light and trigger polymerization. When you expose the mixed resin to UV light (365–405 nm), the photoinitiators break down and start the resin chains to harden rapidly. Importantly, resin photoinitiators are tuned to specific wavelengths (often 365 nm), so a bright lamp at the wrong wavelength will not cure the resin. High-power lamps (24–48 W) that emit at 365 nm cure much more effectively than weaker or mis-tuned lamps. Because UV light can only penetrate a few millimeters at a time, UV resin must be applied in thin layers (under 3–4 mm). In practice, a 2–3 mm layer of clear Quick Cure resin can harden fully in under a minute, whereas a thick glop may remain tacky in the center.
Why Curing From Both Sides Matters
Why Curing From Both Sides Matters
One of the most overlooked principles when working with UV resin is that light must physically reach every part of the piece to cure it. Increasing the curing time does not compensate for areas where UV light cannot penetrate. UV resin photoinitiators only react when they receive the correct wavelength of light — so if the back or bottom of your piece sits in shadow, those areas will remain soft or tacky no matter how long you expose the top surface.
For best results, always flip your piece and cure it from both sides once the top layer has hardened enough to handle. This ensures that:
- hidden or shaded areas receive adequate UV exposure,
- the entire thickness cures evenly,
- the piece achieves full strength and hardness,
- tackiness is minimized, and
- long-term yellowing or delamination is prevented.
This is especially important when using opaque molds, metallic bezels, flowers, glitter, or any inclusions that can block or scatter light. A few seconds of curing from the underside often makes the difference between a perfectly cured piece and one that stays sticky despite extended lamp time.
Common Mistakes and Why They Happen
- Pouring too-thick layers. Many crafters try to pour bulky pours, but UV light only penetrates ~3 mm at a time. If the layer is too deep, the bottom stays uncured and the piece feels sticky. Always pour thin layers and cure each completely before adding more to avoid a gooey center.
- Using the wrong lamp or distance. A common frustration is “nothing happening” because the lamp wavelength or power is wrong. Cheap UV lamps often emit around 395 nm, which doesn’t activate all photoinitiators. Use a lamp rated 24 W or higher at 365 nm, and hold it 2–6 inches from the resin for even curing.
- Pigment overload. Over-pigmenting or using non-UV colorants blocks the light. Excess dye or glitter makes the resin opaque, slowing or stopping cure. To avoid this, use UV-compatible dyes in moderation. For deep colors or multiple pigments, cure a clear base layer first, then add colored layers on top.
- Trapped bubbles. Air bubbles form if you stir too vigorously, shake the bottle before pouring, or pour too quickly. Bubbles often get locked under petals or glitter too. The fixes are to pour slowly, let the mixed resin rest a few minutes (so bubbles rise), and gently heat the surface (with a heat gun or even your breath) to pop bubbles.
- Dust and moisture. Tiny dust specks or excess humidity can cause cloudiness or blush on the surface. Work in a clean, low-humidity environment (ideally 40–50% RH), and avoid breathing directly over your piece while curing.
Understanding Heat Build-Up During UV Curing
Understanding Heat Build-Up During UV Curing
UV lamps don’t just activate photoinitiators — they also generate heat. As the resin absorbs UV energy, its internal temperature naturally rises. A moderate temperature increase is normal and even helps curing; however, too much heat can damage your piece.
Overheating can lead to:
- micro-cracks appearing during or after curing,
- brittleness from over-curing,
- warping or slight deformation of thin pieces,
- overheating or premature aging of silicone molds,
- cloudy spots or shrinkage lines inside the resin.
The most common cause of overheating is leaving the resin under the lamp for longer than necessary. Once a layer is fully cured, additional UV exposure only increases the temperature — it does not make the resin “extra hard.” To prevent this, cure in thin layers, avoid prolonged exposure, and allow the resin to cool between passes if it feels warm to the touch.
This is especially important when working with high-power lamps (36–48W) or large surface areas, which can heat resin faster than beginners expect.
Step-by-Step Guide for Flawless Results
Workspace setup and preparation: Lay down a clean, level mat and organize all materials (resin, dyes, molds, UV lamp, safety gear). Always wear nitrile gloves and safety glasses, and ensure good ventilation to avoid inhaling fumes. UV resin should be used at room temperature (≈24–30 °C) to avoid curing problems.

Mixing and pouring: If your Quick Cure kit has two parts, mix them thoroughly; otherwise, shake or stir the resin bottle well so photoinitiators are evenly distributed. Add color or glitter sparingly. Slowly pour the mixed resin into your mold, then use tweezers or a toothpick to position embellishments (dried flowers, sequins) gently. Pouring too fast can trap air; pause often to release bubbles.

UV curing: Immediately place the mold under your UV lamp. Cure each layer for the recommended time (usually 30–90 seconds for 2–3 mm of resin). Keep the lamp about 2–6 inches away and move it slowly over the piece to cure evenly. If you have thicker areas, cure them longer in a stepped manner. Rotate or tilt the piece if possible so all sides get light.

Finishing and reveal: Once cured, carefully pop the resin pieces out of the molds. Inspect them – they should be hard and clear. If you see any uncured (sticky) spots or surface haze, give them extra UV exposure. Sand or file edges if needed for smoothness. Finally, admire your finished jewelry or keychain

(Integrated into above steps for visuals; all steps rely on the safe setup and techniques shown.)
Troubleshooting: Sticky, Bubbly, or Cloudy Results
- Sticky/tacky finish: This usually means an area didn’t get enough UV exposure (often from an overly thick pour). Solution: Thin out layers. If you find tackiness, cure the piece again under a strong 365 nm lamp until it hardens fully.
- Bubbles in the resin: Bubbles that appear after curing often come from trapped air in glitter, flowers, or from vigorous mixing. Try reheating the piece with a hairdryer on low or a heat gun for a few seconds to pop bubbles, then give it more UV time. Next time, stir gently and let the mix sit before pouring to let bubbles float out.
- Cloudiness or haze: Common causes are high humidity (which causes amine blush) or stale resin. Work in a dry room (≤50% humidity). If a layer looks cloudy, wipe it with isopropyl alcohol or apply a thin clear coat of resin and cure again. Also check that you didn’t saturate mold release or decorations with moisture.
Essential Safety Guidelines
Even though Quick Cure resin is beginner-friendly, it’s still an uncured plastic that emits fumes. Always wear chemical-resistant gloves (nitrile) and protective eyewear while mixing or curing resin. Work in an area with good airflow to avoid breathing vapors.
Never look directly at the UV lamp.
If you must use a ventilator or mask, do so in poorly ventilated spaces. Keep resin and UV lights out of reach of children and pets, and clean spills promptly. Treat uncured resin with the same caution as any strong adhesive or solvent: avoid skin contact and wash immediately if it touches you.
Why Craft Resin Quick Cure Formula Performs Better
Craft Resin’s Quick Cure formula is engineered for fast, reliable curing and crystal clarity. Unlike generic UV resins that may leave uncured centers or yellow over time, Quick Cure’s photoinitiators and UV absorbers are balanced to harden quickly at 365 nm without excessive heat buildup. It cures clear even under challenging conditions (warm temperatures up to ~30 °C). The formula resists yellowing and amine blush better than cheaper mixes, yielding professional-grade results. Plus, it’s more forgiving for beginners: mixed well, it flows smoothly into molds and self-levels for a glass-like finish. In short, Quick Cure delivers consistent quality at the speed crafters love, without the common pitfalls of lesser resins.
Final Pro Tips for a Perfect Finish
- Layer cures incrementally: For very deep designs, cure in steps (e.g. 2–3 mm at a time) so you never exceed the light penetration depth.
- Keep it warm, not hot: Resin cures best around 24–30 °C. If your workshop is cold, gently warm the resin bottle in a water bath (no water contact) before pouring.
- Use UV test strips: Periodically check your lamp’s UV output with test cards or a meter to ensure it’s still effective. Replace bulbs once they weaken.
- Clean your project: Before adding new layers, wipe cured surfaces with alcohol to remove any dust or fingerprints, so layers bond tightly.
- Polish if needed: A final buff or a thin gloss coat can take shine from good to great.
Conclusion: Success Is a System, Not a Secret
Mastering UV Quick Cure resin is about following the right steps more than discovering a hidden trick. By maintaining an organized workspace, respecting UV curing science, and troubleshooting patiently, any crafter can avoid frustration and get flawless results. Craft Resin’s Quick Cure formula gives you the flexibility to experiment, but the real secret is consistency: cure thin layers at 365 nm, keep pigments moderate, and watch your environment. With practice and these expert tips in hand, you’ll turn mistakes into teachable moments — proving that success in resin art is a system you can learn, not a secret you stumble upon.