


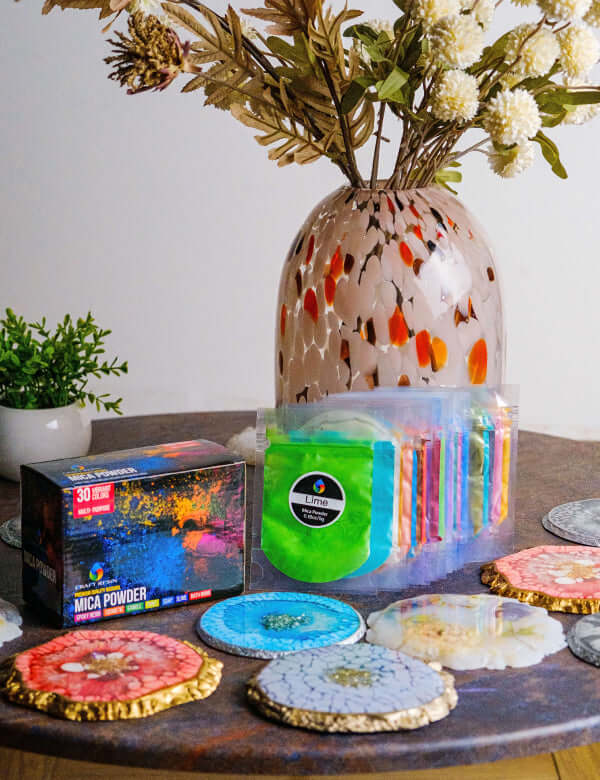
Every day lots of people try out creating using epoxy resin, thats why we wanted to take it back to basics in this weeks blog and explain to you all how to use Craft Resin's Epoxy Resin for the very first time.
It might also be worth checking through this information if you've been using Craft Resin for a little while now, just to ensure you're following all of the techniques to the letter. If you've experienced any issues recently when using epoxy resin, it could be that one or two of the techniques you've been following need changing slightly.
And it's always good to revise your techniques every now and again, especially if:
- You've changed your resin brand - Every brands epoxy resin works slightly differently depending on how it is formulated. Each brand can need slightly different techniques in order for your work to turn out perfectly.
- The seasons and weather have changed - Temperature has a huge effect on epoxy resin, it needs to be just right in order for no issues to occur in your work. Read more about how temperatures effect Craft Resin in our temperature blogs Warm Weather / Cold Weather.
- You've changed your resin working environment - Again if your environment has changed, so may the environmental factors like temperature etc.
- You're trying a different project - Different projects may need different techniques in order for your project to work. Things like the surface you're then working on, the different molds you use, or the thickness of your project can all have an effect.
Getting the basic techniques right can help you to create incredible resin projects from the start, it will help you waste less resin because you're projects won't go wrong and therefore you'll have to spend less on wasted resin too!

Before you begin its always a good idea to read up on our safety guidance. Our resin is one of the best resin's on the market when it comes to keeping you safe, however we do believe in always being extra cautious when it comes to your health and so following our safety guidance will help you to do this:

Now lets get on with how to use Craft Resin for your epoxy resin projects...
Set up your work area
Craft Resin has a pot life (working time) of between 45-50 minutes. Because you don't have all the time in the world, you need to ensure you set up your workspace in advance of starting your project. Check what you need, and place it in easy reach of your workspace.
We have more information on the equipment you'll need when working with epoxy resin in our basic kit blog.
You'll also need to consider having worktops/flooring covered with plastic sheeting, and cleaning accessories to hand. Craft Resin is a low viscosity resin, which basically means it's quite runny, it can get everywhere and can be difficult to clean out of things like carpets and other fabrics if it is spilled or runs off the edge of your work.
At this stage please also set your workspace temperature to between 21-24C 70-75F. Temperature plays a huge role in your work going right and no issues occurring during the curing phase. Please ensure this temperature is kept consistent throughout the entire curing process of at least 24 hours.

Measuring your resin mix:
Once you have everything set up and you are ready to go you can follow the steps below to measure, mix and pour your resin over your artwork or into your mold/s.
If your resin and hardener has been left for a long period of time in a room that is between the temperatures above, it may be warm enough to work with already, but as an extra step just to make sure, you can always leave the bottles to warm for 10-15 minutes in a sink full of warm water.
Make sure the bottles are kept done up and that the water doesn’t go past the level of the Craft Resin label.
Measure your warm resin and hardener by a 1:1 volume, not by weight, weighing will throw the delicate balance needed of resin and hardener, and it won’t cure properly.
To measure by volume simply get two measuring jugs of the same brand and size, pour the resin and hardener into separate jugs up to the same levels, then place the jugs next to each other and check with eyesight to make sure they are both level. You can then pour one into the other if there is enough room to mix the resin and hardener together in the jug.
Silicone is a great material for the measuring and mixing jugs to be made out of as resin doesn’t stick to silicone, so they can easily be cleaned and refused to reduce waste.
If your artwork is a square or rectangular shape you can work out how much resin mix you will need to cover your work to measure more precisely with our online resin calculator.
Mixing your resin and hardener:
Once the resin and hardener are in the same mixing container then you can follow this guidance to ensure your mixture is mixed enough to start the chemical reaction that will ensure your resin mixture cures (hardens).
If you don’t mix the resin and hardener enough, it can leave sticky uncured areas on your artwork, so following this step is very important.
You need to mix your resin and hardener slowly, in a controlled manner for a minimum of 5 minutes. Make sure you set a timer for this so you don’t mix below 5 minutes. Over time you will find the sweet spot for the amount of time that’s perfect for you to mix your resin for between these timings (The mixing time on our packaging may vary, we have recently changed the guidance from 3 minutes to 5, this will take a short while to be updated on the newer packaging).
If you mix your resin fast and uncontrolled, you can create lots of trapped air in the resin and bubbles will form.
Make sure when you are mixing that you scrape the sides and bottom of the mixing jug so that all of the resin and hardener is mixed together as much as it can be.
Onto pouring:
Once your timer goes off and your resin and hardener is mixed together, you can then pour the resin mix over your artwork/into your mold/s.
Pour slowly to avoid bubbles in the poured mix. Leave this to spread out once you have poured it into your mold or over your artwork. Craft Resin self levels so will spread out and fill your mold up to the edges.
Once it has rested and spread out over your project leave it a short while and then check for any surface bubbles that may appear. If they do start to show, then simply use a heat torch in sweeping movements over your work to disperse them and watch them pop before your eyes.
Leaving to cure:
Once you have poured your resin mix over your artwork and removed any surface bubbles, it's time to step away and leave your work alone. You can cover your work if you would like to ensure it is kept clean and dust free. But leave it to sit in the room with the temperature between 21-24C or 70-75F for the next 24 hours.
Please do not move your work during the first 12 hours at least. Moving your work could also cause an uneven and rippled surface to your work.
In 24 hours time your artwork should be hard to the touch and you should be able to hang your work, or remove it from it's mold.
If your work still hasn't cured, this could be down to the techniques above not being followed correctly, your temperature being too low, or your project being thicker than 1/4". Thicker projects will need more time to cure. Read our blog on thicker projects to find out about these.
Please don’t wrap or ship your work for the next 72 hours, some resin artists like to wait longer just to be sure. If you’re selling your epoxy resin work, you can set your customers expectations on timings they will receive their resin project by factoring this extra time into your estimated shipping date.

Above are the very basic techniques to ensure that your resin work goes well when you are using Craft Resin's epoxy resin in your projects. There is always a lot you can learn when it comes to using epoxy resin, and issues can occur during any stage of the process.
If issues do occur don't panic. Sometimes issues can be fixed, and even when they can't, they can always be used as a learning curve so that your next project goes even better than the one before.

We have lots of information to help you understand what has gone wrong if issues do occur and we also have guidance on how to fix issues if they can be fixed. This can be found on our website in the Blog section. There is a handy search bar so that you can search for the topic or issue you would like to learn more about.
We also have a great customer service team who are on hand to help with any issues you may occur along the way too. Our team will always try to work with you to help understand what may have gone wrong and offer ways in which you can improve. You can contact the team through the contact us section on the website. This is not manned 24 hours a day 7 days a week, if you do send us a message as you have an issue, please bare this in mind and we will get back in touch to help as soon as we possibly can.
As always, the guidance in this blog works with our brand, Craft Resin, epoxy resin. If you are using another brand please check their guidance, every brands resin is formulated differently and therefore works differently, they all need slightly different techniques in order for them to turn out perfectly.
Although you can pick up epoxy resin and create amazing projects from day one, you also might need to experiment, practice, make mistakes and learn from them. This doesn't mean you can't use epoxy resin, it just means you are a beginner, you are just starting your resin journey and you need to learn more before your work can be compared to the best of the best.

Everyone has started from scratch at some point with epoxy resin. Please don't compare your work on day one, to someone who has been creating for years. We promise you they will have made mistakes along the way, just like you will potentially do. The only difference between them and you, is they've been doing it longer, they kept going, learning and growing their resin skills. And who knows, in 5 years time you might be creating at the level that they are today, or even better!
When you start creating with epoxy resin, you never know where it will take you - how exciting is that. We hope you enjoy the journey.
Team Craft Resin

