


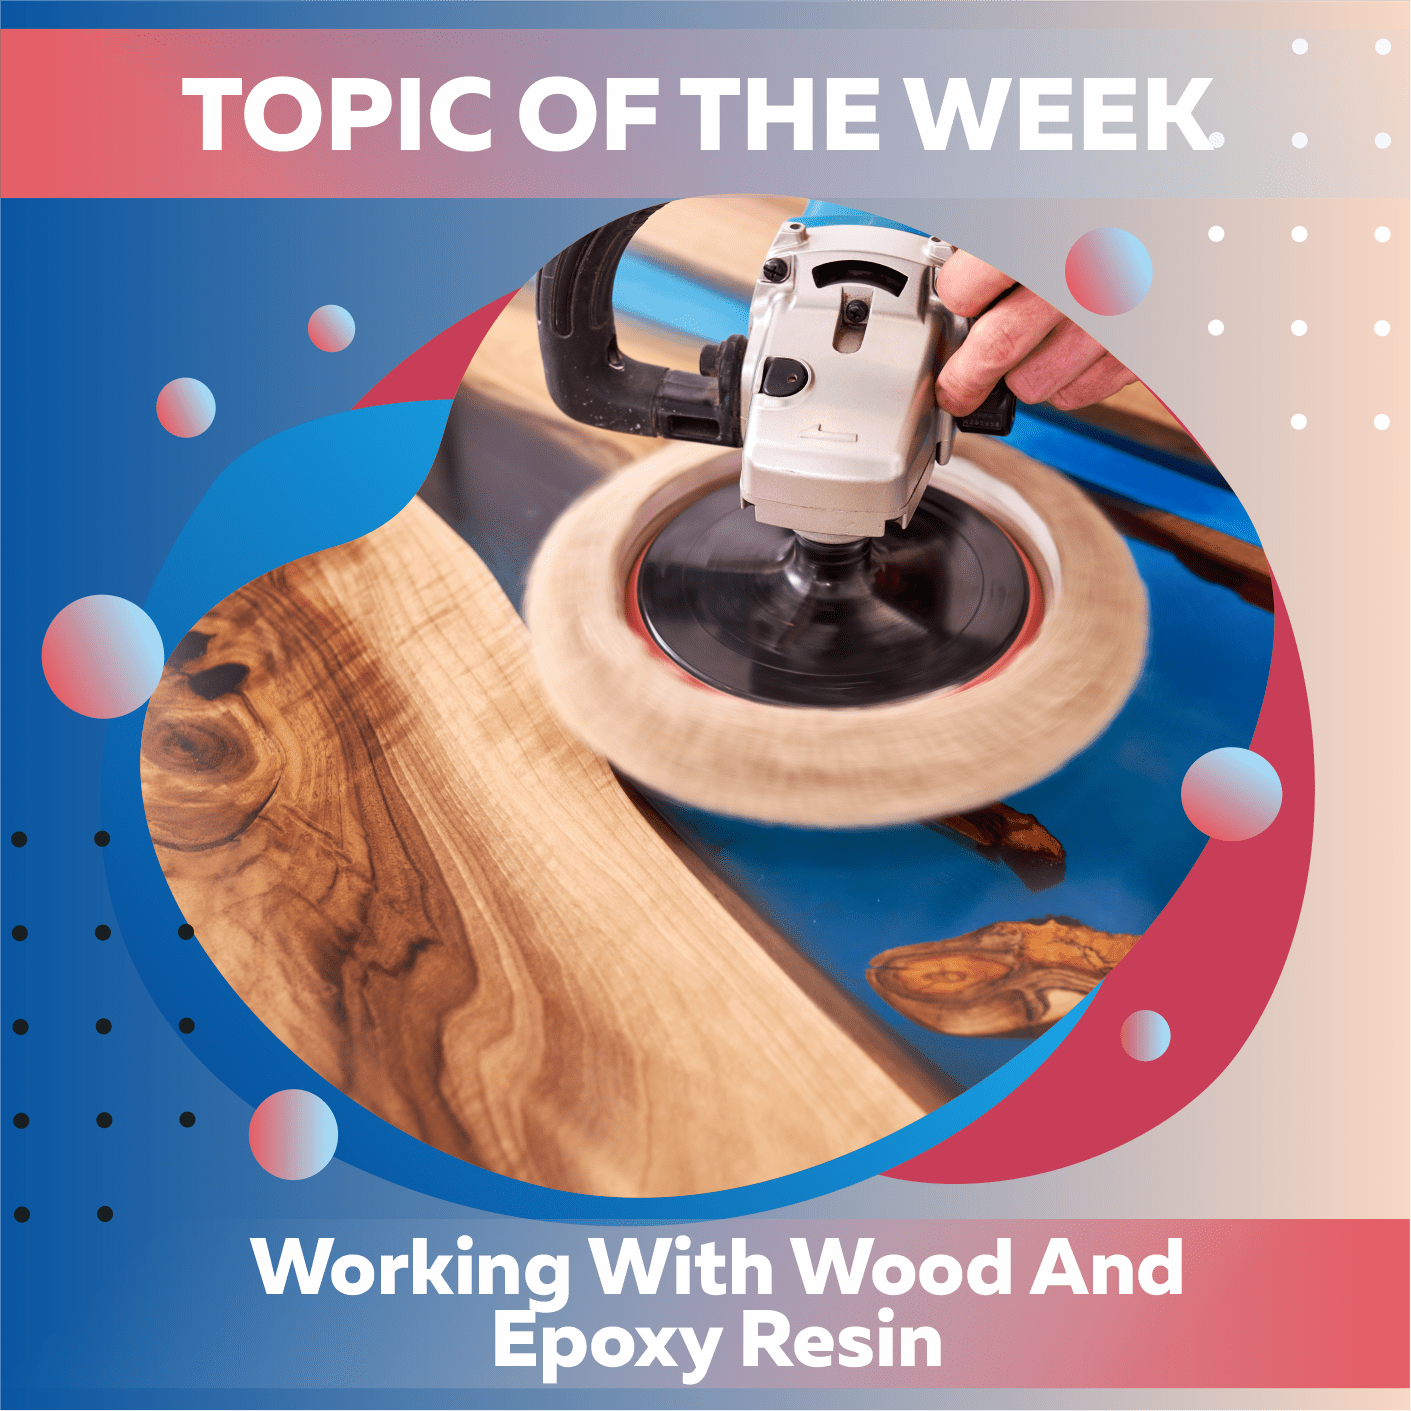
Epoxy resin and woodworking have become much more popular in recent years due to the versatility of epoxy resin and the aesthetic appeal of woodworking, respectively.

A delightful and energizing pastime might be found in fashioning something lovely from wood and epoxy resin. Here is a comprehensive lesson to get you started, so have a look:
Materials you will need:
- Wood of your choice
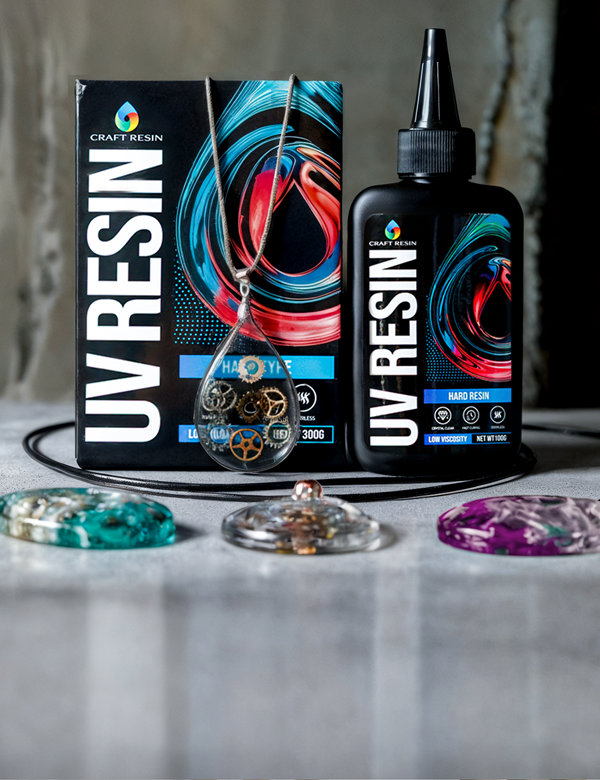
- Craft resin epoxy starter kit (Deep Pour for larger projects)
- Mixing cups and stir sticks
- Sandpaper (80-120 grit for wood preparation, higher grits for finishing)
- Plastic sheeting to protect your work area
- Adhesive tape or ready-made molds (if needed)
- Leveling aids (wooden blocks or similar)
- Optional: paint primer, wood treatment (if required)
The First Step-: Select and Prep the Wooden Pieces
- First, you'll need to select the type of wood you'll be working with. The flattest piece of live wood is ideal when working with epoxy glue. Epoxy resin makes woods like yew, elm, oak, and black walnut seem spectacular. You can use just about any wood with epoxy glue, but the flattest piece of live wood you can locate is ideal. Experiment on offcuts of wood to get a feel for how the epoxy glue will affect the final appearance of the wood.
- To avoid resin issues, step two is to check the wood's moisture content and get it down to less than 12%.
- Saw the wood to the desired shape if necessary. The wood must next be sanded with 80- to 120-grit paper so that the epoxy glue may properly adhere to it. Clear the area of dust and debris after sanding. If you use a moist cloth to remove the dust after sanding, ensure it is dry before applying the resin.

Second step-: Set Up Your Working Area
1. Cover your floor and work area with plastic sheeting to prevent spills.
2. Maintain a temperature range of 21 to 24 degrees Celsius (70 and 75 degrees Fahrenheit) at your workstation and the drying room for the first 24 hours (or 48 hours if you use our Deep Pour resin).
3. In the third step, ensure your workspace is as clear of dust and grime as possible so it doesn't get into the resin.
4. In the fourth step, examine the ventilation and ensure you wear the appropriate protection gear. Put on some gloves and a plastic apron, and draw it back into a ponytail if your hair is long. Protective eyewear like goggles or safety glasses might be handy when dealing with wood. Please use a respirator if you cannot keep comfortable temperatures while keeping sufficient ventilation or if you need clarification on whether your current location has appropriate ventilation.
When dealing with Craft Resin, there are some precautions you need to take to protect yourself, and you can read more about those here.

Third Step-: Molds Must be Created if They are Required
- If your creation has any open places or edges, you will need a mold to keep the epoxy resin contained while it dries. You may purchase one online or at a local craft store. High quality epoxy resin is a liquid; thus, if it is not contained properly, it will leak out of the edges if it is not contained.
- Second, create the necessary barriers by adhering high-quality adhesive tape to the area you want to cover or using pre-made molds. For casting wood resin crafts, you can acquire ready-made molds from places like @makersreusablemold, even if the initial expenditure may only be worth it if you plan on producing many projects of the same size. Sources like @makersreusablemold provide these molds.
- Before pouring the resin, level the surface by placing wooden blocks or anything similar. Make sure it's level by checking it with a spirit level.

Fourth Step-: Epoxy Resin Mixing and Pouring
1. First, follow the instructions with your epoxy resin kit to combine the resin and hardener in the right proportions. You'll want to adjust your measuring techniques accordingly to get the best results with our Deep Pour resin. It's vital to double-check the instructions that come with the resin you buy because various manufacturers may use completely different measurement techniques.
2. Stir thoroughly to ensure an even mixture. You might need to stir for longer than 3 minutes, a good rule to follow is to stir the resin and hardener till there are no lines/streaks left in the mixture, and then add colourant if you are wanting it coloured. Please mix slowly and controlled to ensure the least amount of bubbles form in the resin mix and that the edges, sides and bottom of your mixing container are scraped as you stir.
3. The third step is to pour the epoxy resin into the molds or straight onto the wood, depending on how your project is set up. To fill in the holes, pour the resin directly into the voids.
4. Finish one level of a work that has many levels before moving on to the next. Creating works using Layered Craft Resin calls for more care and consideration. Stacking is not required in certain circumstances, such as when utilizing the Deep Pour resin that Craft Resin offers, because the exothermic reaction inside this product does not elevate the temperature to a level capable of causing flash curing.

Fifth Step-: Curing and Finishing
- The curing period for our normal resin is 24 hours, and the curing time for our Deep pour resin is 48 hours (although this varies depending on the work). Curing times may vary depending on ambient temperature and the thickness of the cured work.
- The second step is to gently remove the material from the mold when it has hardened. If there is any unevenness or excess resin, you may level it off with sandpaper.
- Third, after conducting independent research, use the appropriate wood treatments while working on projects that will come into contact with food. After Craft Resin has dried completely, it may be used directly on food contact surfaces without additional preparation. Here are some suggestions for ensuring that your food is safe to eat.

Always read up on the topic and stick to the guidelines provided by the epoxy resin manufacturer you're working with. Learn the ropes by taking on easier projects initially, then moving on to more complex ones. Working with wood and epoxy resin may be an art form that requires time and experimentation to get the desired results.
Topic Of The Week Giveaway:
We have attached a giveaway to this Topic Of The Week announcement on our Instagram platform; this is helping us to spread the knowledge of how to use epoxy resin further, but also enabling anyone who helps us to share this information to win free resin and mica powders.

To enter the weekly giveaway, please see the latest post pinned to the top of our Instagram feed and follow the instructions to enter:
Team Craft Resin

