


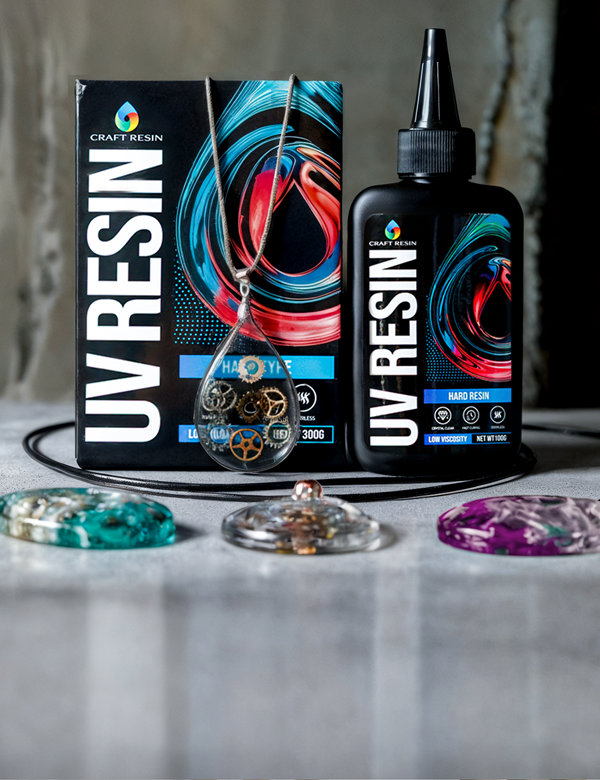

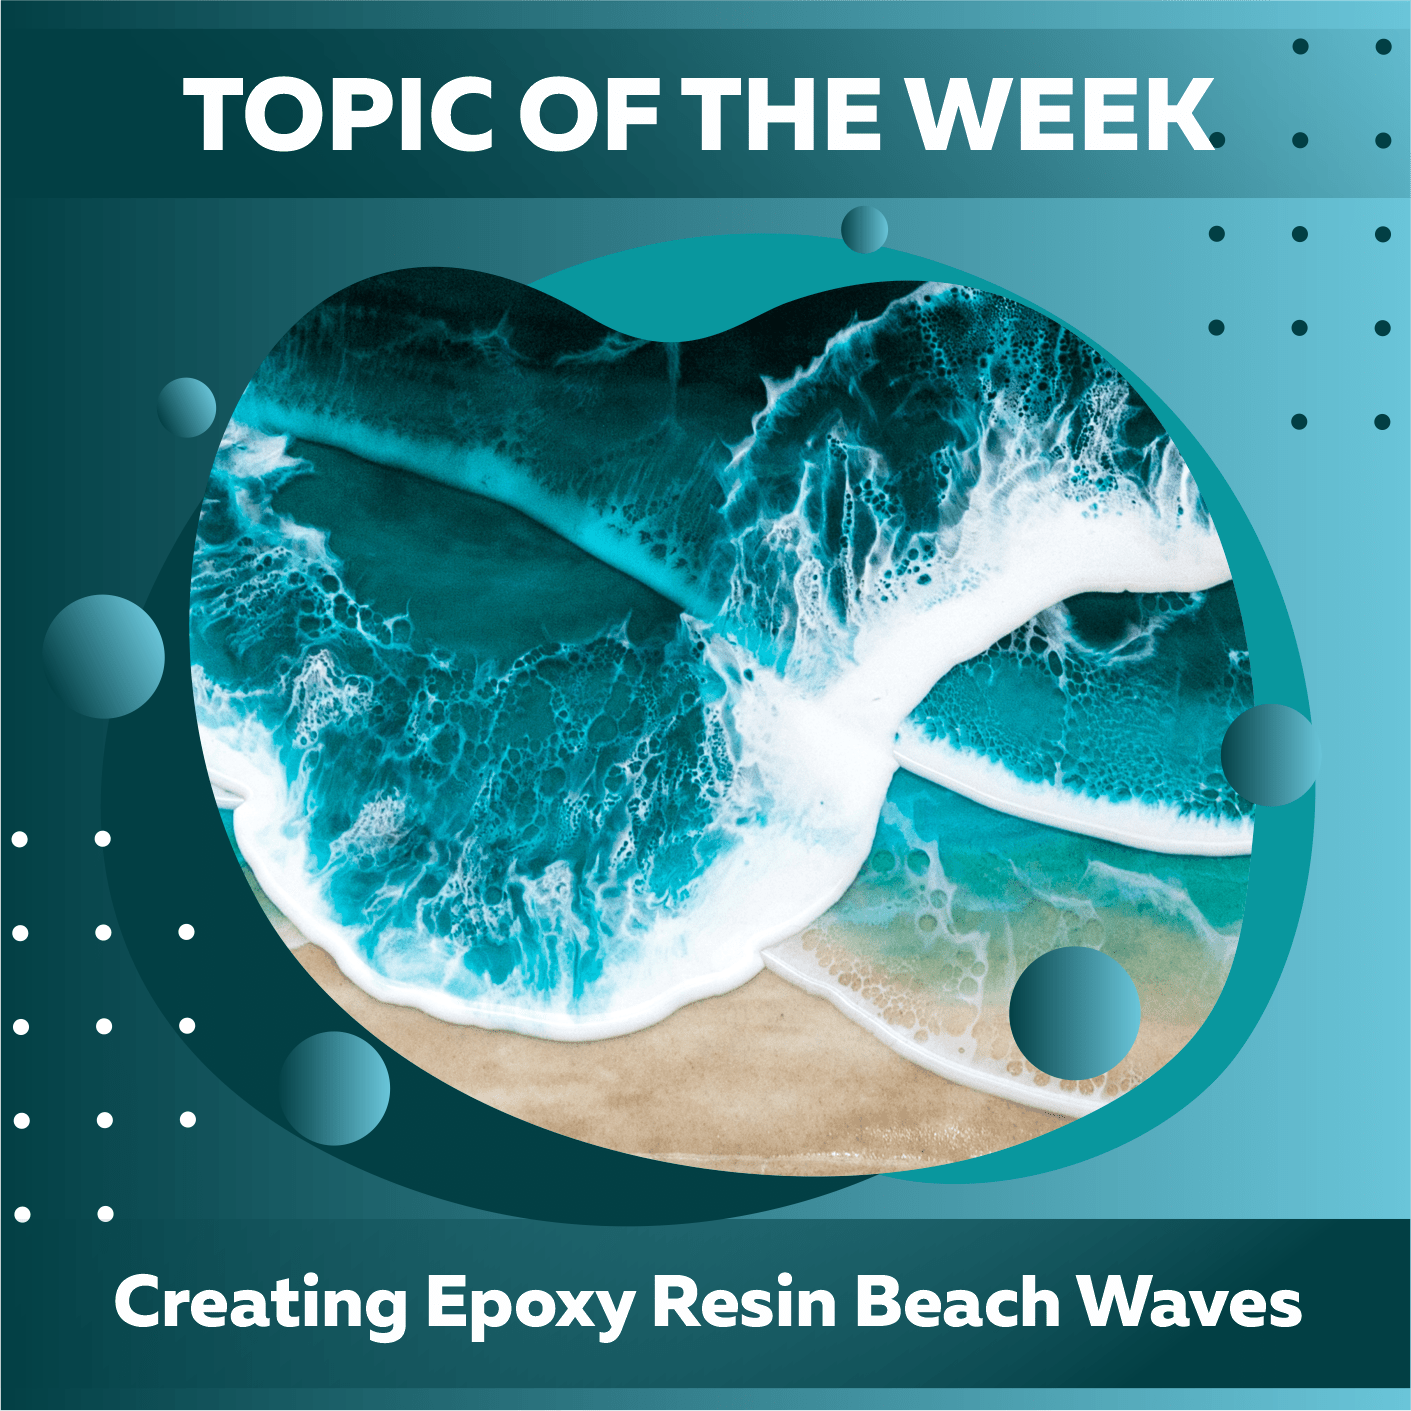
Have you ever looked in awe at the breathtaking resin waves that other artists have created and wondered if you could create anything similar? Absolutely, and in a few moments, we'll walk you through the process. If you follow the steps and instructions below, making your piece of clear epoxy resin for crafts ocean art will be an enjoyable and simple process.

When you want to make anything, you must first decide what project you want to work on. Will it be a unique beach coaster or a collection of several coasters you create? What about a sand sculpture or other beach art? On the other hand, the top of a beach table.
Both the foundation material and the preparatory stages for adding the beach scene and the epoxy glue are governed by the planned usage of the finished product. Before we start, I would appreciate it if you researched the specific project you want to build; nevertheless, today, we will talk about a beach-themed project that we would make by utilizing a mold.

The second factor to consider is the availability of beach materials and the potential necessity to pre-manufacture resin beach objects. You could take a trip to the beach and collect shells to incorporate into your work, or you could cast your resin shells. Can you bring your sand from the beach on your next visit, or do you need to buy it from a local hardware store? Build up your beach bag throughout the year, and include items you may utilize at the beach on your next vacation.
After you've gathered all of these items, you can begin to imagine how your beach art will turn out. You should keep in mind that you will be making them in phases, beginning with the region that is nearest to your mold or base, where you may like to input sand, then adding shells, and finally producing the ocean portion by pouring epoxy glue on top of the shells and shell fragments. You may prepare your beach scene by sketching it out first, or you can start laying items down and see what occurs. Either way, planning it out is a good idea. Because epoxy glue is fluid, this means that items might move about inside of it. As a result, even with meticulous preparation, the finished product could appear differently than you had envisioned.
After measuring out the Craft Resin epoxy resin and mixing it for around five minutes, you can begin creating your masterpiece by adding sand to the mixture. Visit our YouTube channel to learn how to properly pour the resin and the right quantities that should be used for it.

Test out various sand ratios to discover which yields the best results; the precise amount of sand that needs to be added will vary. The next step is to wait a few minutes and pour this mixture into your mold or over your base. You have around forty minutes before the Craft Resin becomes too hard to pour or to be moved with the measuring stick in order to get the sand layer in the correct position so that you may create the effect you want.
When you're done pouring, you may use a heat torch to smooth down the surface and eliminate any air bubbles. If there is any visible debris or dust in the sand, you may clean it up using a cocktail stick. The sand will start to firm at this point, so feel free to incorporate any shells or other materials you'd like. If put too early in the process of pouring the sand into the container, they risk sinking to the bottom; hence, it is vital to add them when you need to so they can stand out and sit in the manner you desire.
After arranging the sand and other beach accessories, you may continue mixing various hues of blue into two more cups of high quality epoxy resin mix, along with white. Mica Powders can be used to this end to create these hues.

Remember that you only need a little epoxy glue and aren't trying to cover the entire sandy area with the blue resin. A modest quantity of blue resin goes a long way toward creating that marine vibe.
You may mix things in some way when you are wearing gloves. In the following phase, you will use a heat torch held at an angle to make wave effects by pressing the lighter blue into the darker blue gently. At this point, it's likely necessary for you to try out a variety of various movements until you discover one that works.
After that, you may use a heat torch to gently push back lines of the white resin mixture that you applied to the starting border of the lighter blue. You did this by adding the mixture to the beginning border of the lighter blue. As a result, your ocean will have wave breaks that are true to life. Once more, you should begin with a lower quantity and then gradually increase it. If you put in an excessive amount initially, you won't be able to take it back out later.
After the waves have been sculpted, a clear topcoat of resin is the best technique to make the top level flat or somewhat dome-shaped, ideal for creating beach coasters.
They need at least 24 hours to cure, and maybe more time depending on the curing environment's thickness and temperature. If you are still determining whether or not they are ready, you should always wait longer before removing them from the molds or transferring your artwork.
In case,you have made beach art using molds; you can smooth the edges and give it a more finished look. If you choose, you may embellish the borders with a colorful pen, but you can also leave them plain to let the underlying beach layers show. This is optional if you've already made your beach art using molds.
You may now take home individualized memories of your time spent on vacation or at the beach. Or, if you offer this service as part of your resin company, think of all the vacation memories you'll be able to preserve for your clients.

Try making one of these sorts of crafts using supplies you find around the house before you take other people's prized beach or holiday finds to turn them into something you can sell. It takes a lot of experience to become proficient in the processes necessary for working with epoxy resin.
If you use the information presented in this blog to create beach-themed crafts and want to share them with us, tag us using the hashtag "craft.resin" in any photographs you post online so that we can check out your unique take on the theme.
Topic Of The Week Giveaway:
We have attached a giveaway to this Topic Of The Week announcement on our Instagram platform; this is helping us to spread the knowledge of how to use epoxy resin further, but also enabling anyone who helps us to share this information to win free resin and mica powders.

To enter the weekly giveaway, please see the latest post pinned to the top of our Instagram feed and follow the instructions to enter:
Team Craft Resin
