


If you are starting with resin, you might not be acquainted with the term "resin geode," but if you are ready to move on to more complicated crafts, these could be the next natural step for you to take.
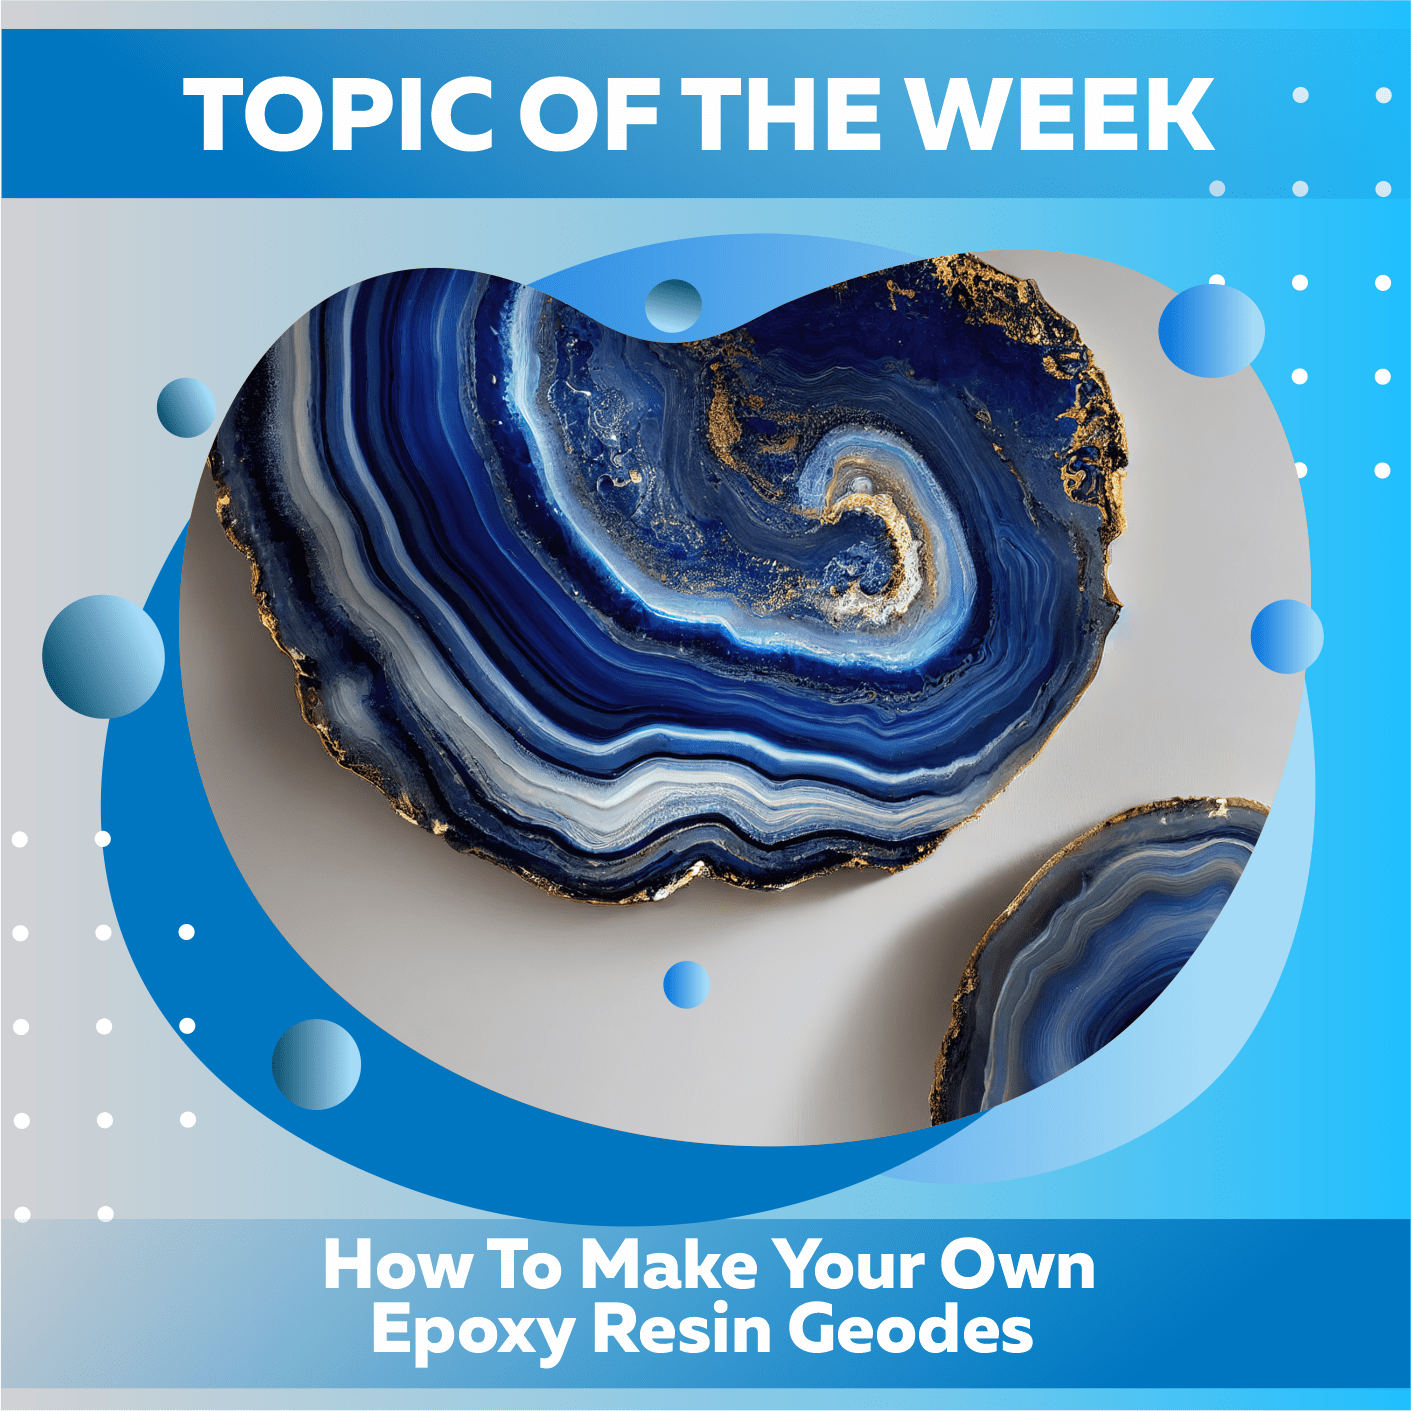
This week on the blog, we will discuss what a resin geode is and demonstrate how you can independently create amazing geode-inspired pieces of art.

Let's start by defining what a resin geode is.
The stunning geode rocks that may be found in nature inspire the creation of resin geodes, which are man-made art pieces. It is possible to produce incredible works of art in a resin geode that has the quality of being three-dimensional. Depending on the circumstances, they may take on a wide variety of colours, shapes, and dimensions.
To show this point:

In light of this, how does one make one of these incredible art pieces? Permit us to elaborate since they may be relatively easy, even if they look difficult to build...
First, set up your workspace and gather your supplies:
Make sure your workplace is neat and that all the materials you'll need are within easy reach before beginning any project with an epoxy resin kit. Once the resin and hardener are mixed, you have forty to fifty minutes to use the resulting liquid before it hardens up too much to pour.
Now is the time to take precautions against potential health hazards, such as heat exhaustion, by ensuring that your workplace has adequate ventilation or by using protective clothing, such as a mask, gloves, and a headband or scarf to keep long hair out of your face. The optimal curing temperature for your work is between 21 and 24 degrees Celsius or around 70 and 75 degrees Fahrenheit, so there are no complications. Resin projects that require temperatures lower than this will be challenging to perform.
Protect your carpets, table tops, and other surfaces in the workspace by laying down plastic sheeting before you begin working with liquid resin. Resin is a fluid material that can spill out of its container, so safeguard the area around your project.
2 - Organize and strengthen a home base:
A foundation is required for resin geodes, and although geodes may be cast in moulds, doing so for the first time is a challenge. MDF wood is a wonderful base, but it must be prepared for resin to be put into it.
To begin, you should trim it into the form you want it to have after completion. Most geodes found in nature have a round or oval shape, but artists may create the illusion of this shape by starting with a square foundation and then adding curved lines and other components to construct a sculpture that resembles a geode. The final shape can be anything at all, depending on your creativity or your customers' requirements.
When the MDF has been cut to the appropriate dimensions, you can prim the top of the frame. Due to the porous nature of MDF, the resin won't be able to settle fully, which will hinder you from attaining a smooth surface. Before moving on to the next step, it is necessary to prime the MDF by applying emulsion paint or Mod Podge and letting it completely dry.
Once you are waiting for everything to dry, you can frog-tape the base's borders once you have flipped it over. If you do not immediately capture the resin, it will flow over the sides of your product and pool beneath it unless you have constructed a dam to prevent it from doing so. If you have taped your foundation underneath, cleaning up these leaks will be less of a headache.
3 - Give the resin some colour:
Following the completion of the foundation preparation, you may start colouring the resin. In most cases, geodes will have contrasting colours, such as shades of the same colour and green poured at different periods. Therefore, examine the packets you have been given and select two or three hues that stand out to you. Mica powders, found in Craft Resin, are an excellent choice for imparting a soft hue to your resin and are available there. Mica powder allows for the creation of magnificent geodes since it comprises a wide variety of hues.
After thoroughly combining the resin and the hardener for four minutes, sprinkle in a pinch of the selected Mica Powder colour. This process must be repeated for each of the three colours.
After you have included all the colours into one another, you may pour the coloured resin over the base. Start by working with a single colour, and make marks that resemble lines as you travel over your piece. You are not trying for perfectly straight lines; as the resin spreads, you want the lines to smear together and the colours to blend together ever-so-slightly.
After you have poured one colour at random, making a place for others, you may proceed to do the same with the subsequent colour by repeating the process. until your geode is completely wrapped in a kaleidoscope of stunning colours and various shapes to choose from. Allow this to mature for a little or longer period if you do not intend to add any crystals. You could add more resin as you go along if you think it's required, but you don't have to if it looks OK where you are.

4 - Adding Crystals
After pouring the resin into the geode, you may carefully position the crystals in the parts of the geode where you think they appear the most attractive. Crystal clusters can be arranged in a couple of corners or protrude from one of the lines flowing through your work.
The positioning of crystals, just like any other part of working with resin, is entirely up to personal choice and the look you are striving for. Try this out on a smaller scale first, or at the very least, sketch out a preliminary plan to decide the best location for these components in the bigger project you are working on.
Because the resin will eventually set and keep the crystals in place, it is essential to embed as many of them as possible within its pores. Some painters may opt to cover the crystals with resin and immerse them, while others will prefer to let them stick out of the surface of the painting. Some individuals even go as far as to use a clear resin as the last coat, which is an extreme step.
Rose quartz goes well with neutral or pink resin tones, but sapphire may work better with green and turquoise resin hues; however, utilizing genuine crystals may be more expensive. Rose quartz compliments pink or neutral resin tones. If real crystals are out of your price range, especially for early tests, you may save money by creating them out of resin and incorporating them into your geode creations.
5 - Incorporating geode lines into the blueprint:
Lines should be added after the resin has been poured and crystals (or imitation crystals) have been applied. Once the resin has been set, you may add the lines. Geodes are distinguished by lines that traverse them and, once again, adhere to the geode's original shape. Resin with gold mica powder can be used to add lines; thinner lines can be achieved by applying the resin with a syringe. You may also use a gold marker pen to make lines. You can use any colour you choose, so feel free to paint your creation gold or silver if you think it would look well with it. At this point, you may experiment with things like gold or silver leaf, change the colours and other details, look at the work of other artists who make geodes for ideas, and, most importantly, have fun with it.

6 - The finishing touches:
The inclusion of the lines will give your geode a more three-dimensional appearance. When the product has reached its final state and is entirely dry, you can add the finishing touches. The drying period may be longer than 24 hours due to factors such as the number of resin layers utilized; thus, if you are unsure, it is recommended to wait at least a week.
Flip the object over once the resin has hardened, and then use a heat torch to soften the drips of resin gently. This will allow you to remove the tape without causing any damage to the adhesive. Because the drips can become rather hot, it is important to protect your hands using gloves to avoid keeping the heat torch directly on the drips for an extended period, to work in tiny increments, and to gently remove the tape.
Sanding down any leftover drips on the rear of your final product may give it a more polished appearance and make the back smooth. Before beginning to sand, it is essential to ensure that any adhesive droplets have completely dried.
After that, you must use the correct mounting hardware to suspend your final item from the wall. Unless the finished product of your geode endeavour will be a free-standing artwork.
We hope you found this post that explains how simple it is to build resin geodes to be fascinating and informative. They may be a wonderful addition to your resin shop or be something you do for enjoyment and then display in your home.
If you want to extend your resin business, knowing how to generate resin geodes and honing the skill of manufacturing them may fetch premium rates due to the resources necessary to make these masterpieces and the amount of time it takes artists to construct them.
Some resin geode artists we have spoken with have received commissions to manufacture geode artworks for hotels and other companies as gorgeous wall decorations. These geode artworks are used as wall decorations across the world. Including geodes in your resin works might open doors to prospects you were surprised to find out.
Topic Of The Week Giveaway:
We have attached a giveaway to this Topic Of The Week announcement on our Instagram platform; this is helping us to spread the knowledge of how to use gallon clear epoxy resin further, but also enabling anyone who helps us to share this information to win free resin and mica powders.

To enter the weekly giveaway, please see the latest post pinned to the top of our Instagram feed and follow the instructions to enter:
Team Craft Resin