Craft Resin’s epoxy resin is bubble free when you follow the techniques that we are about to share with you. You can certainly achieve a clear, glass like finish to your epoxy resin projects and create work that doesn’t have bubbles in it.

Unless you would like to create a project with bubbles in it, then please read this guidance and do the opposite!
Some projects look great with bubbles in them, and some projects need bubbles for a certain look to be achieved. Beauty is in the eye of the beholder, bubbles aren’t always bad.
The best way to stop bubbles from appearing in your work is to understand what causes them:
1 - Cold resin temperatures
2 - Pouring too thick at once
3 - Mixing too fast
4 - Your project is releasing trapped air
Don’t worry, a lot of people, especially when they are new to resin art do have issues with bubbles at the beginning. But if these pesky bubbles do pop up in your work and you want to get rid of them, then keep reading…

1 - Cold resin temperatures:
If your resin mix turns a misty/milky looking appearance to it then it means that you are having temperature issues and it is too cold. Resin loves warm temperatures and you need your work area and resin/hardener to be warm for your project to work really well.
The ideal temperature to work with and have your resin/hardener is between 21-24C or 70-75F. Between these temperatures your resin will be a joy to work with, it will flow really well and won’t have a misty look to it, it will be perfectly clear.
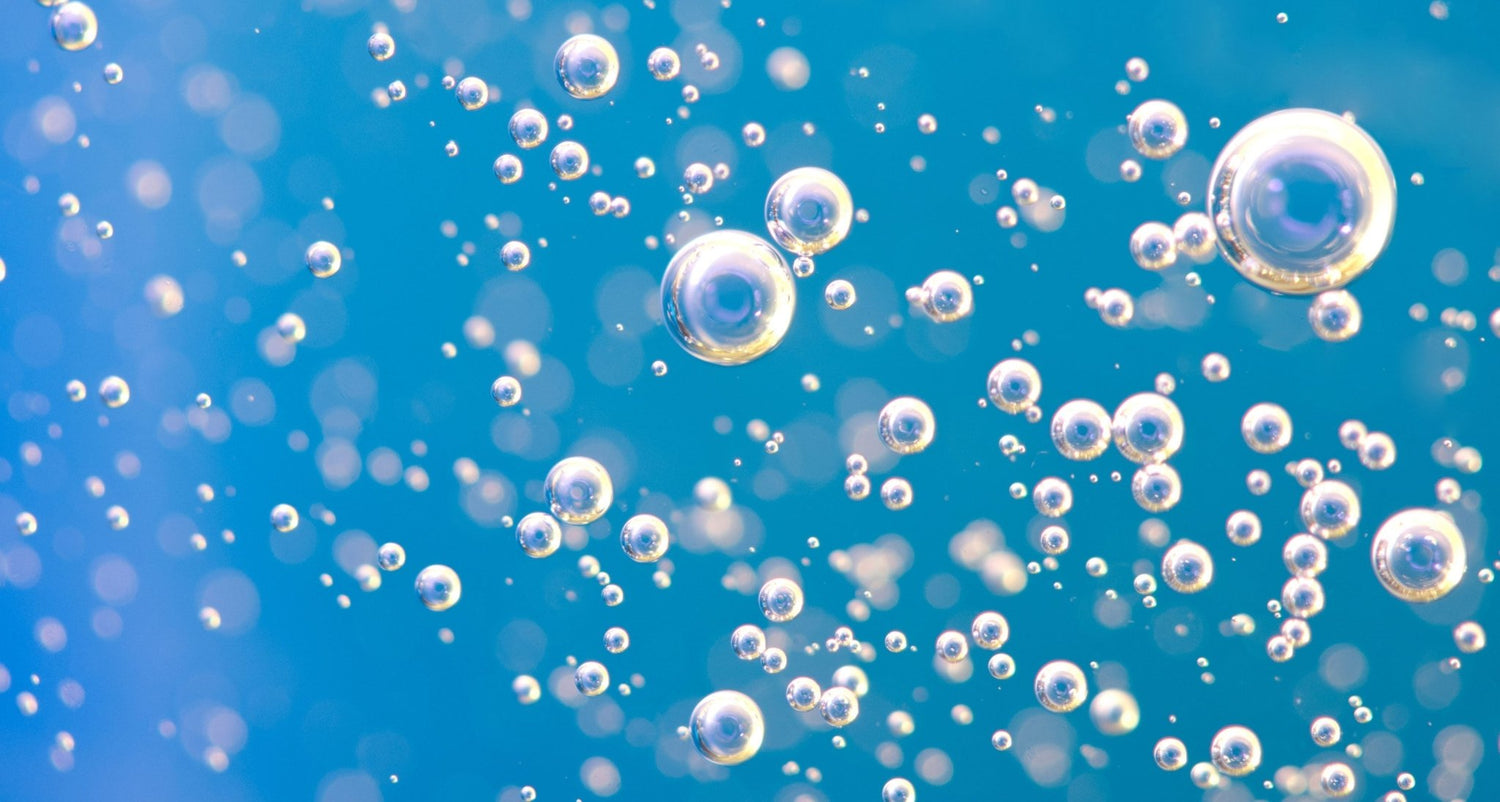
The misty/milky look is due to lots of tiny micro-bubbles that form in cold resin. These cannot be removed once your work has cured, so you need to adjust the temperature before you begin.
You can warm your resin/hardener bottles in a warm sink of water for about 10-15 minutes before you then measure them out. Make sure the lids are kept on the bottles fully secured, make sure the water doesn’t go above the Craft Resin label, and dry the bottles off before opening and measuring.
Any moisture that gets into your resin will affect your project in other ways. The last thing you want is to do something that alleviates one issue, but causes another.
2 - Pouring too thick at once:
Craft Resin is a designed as a coating resin, one that you coat your artwork with, although it is great at other projects too, you need to create thicker projects in layers.
If you pour a thicker project then air can get trapped under your project, creating bubbles at the bottom of your mold that you cannot remove while your resin is curing.
If you pour in layers this air won’t get trapped at the bottom and will allow you to get rid of any surface bubbles that do appear each layer to be removed.
To remove these simply use a heat torch. Gently use sweeping movements to hover over your work with the heat torch applying direct heat to pop the bubbles as you go.
Be careful not to get the heat torch too close to your project, and don’t hold it on one area too long, this can cause other issues like rippling.
You need to use a heat torch and not something like a hair dryer to do this, as the heat from a hair dryer isn’t direct enough and can cause your resin to move and also dirt to be blown into it.
Once you have poured a layer of no more than 1/4 inch, you can disperse the bubbles then wait 3-5 hours before pouring the next.
Be careful to extend your curing times if you are building a project up in layers as the cure time will increase in time.
3 - Mixing too fast:
Bubbles can be caused by mixing the resin and hardener too fast causing air to get trapped in the mix.
When mixing your warmed resin for 3 or more minutes make sure you mix with slow, steady and controlled movements. This will trap less air in the mix and less bubbles will appear in your project.
Also be intentional when you pour, so that you don’t pour too quickly and create bubbles this way. Pour slowly and steadily, which will again trap less air.

4 - Your project is releasing trapped air:
Layers are also great to use for any projects that have things like flowers or glitters in them. A project with large items in them like these can hide trapped air behind or around them. When the air releases during the curing process it can create bubbles.
If you use the layering technique then you will be able to get rid of any bubbles that do appear as you build up the layers.
If you're working with flowers in your work please make sure they are completely dried out, and if you're worried about using a heat torch to remove the bubbles close to delicate flowers you can always prick the bubbles away with a cocktail stick as the work cures.
You can also use a spritz of rubbing alcohol, isopropyl alcohol to remove the bubbles too. These last two won't create ripple effects like over torching can.
If you have your own tips on getting rid of bubbles in your projects, please do share them in the comments below. We always encourage our community to share information where possible to help everyone have a great experience when using Craft Resin.
Team Craft Resin

