


Craft Resin’s epoxy resin is a crystal clear substance, which makes it an ideal medium to showcase flowers in, with the protection that epoxy resin also gives meaning it will stand the test of time and preserve the flowers for you too.

When you have beautiful flowers that you would love to preserve, epoxy resin can be a great substance to use to do just so. You can preserve the flowers you pick from your garden, flowers from a beautiful bunch that your loved one gifted you on a special occasion, your wedding flowers, or memorial flowers from a loved ones funeral.
As the flowers you will be casting might have a sentimental value to them, it is always a good idea to practice casting flowers to resin first if this is your first time. The last thing you want is to try first time on flowers that have a sentimental value to you, then it goes wrong and they are stuck forever.

If you’re ever in doubt about your resin abilities, please do get in touch with an established resin artist who specialises in casting flowers in epoxy resin who could create the sentimental project for you. We showcase lots of artists who work with flowers on our Instagram channel, so take a look and get in touch with the artist that most stands out to you they would be very happy to help.
The artists details can always be found in the text part to our Instagram posts: @craft.resin
In this blog we’re going to dive into how you can cast flowers into resin creations and we’ll talk you through everything you need to know from start to finish. If you learn better through watching techniques then we do also have a free course that you can also take that will show you how to work with Craft Resin’s epoxy resin and flowers:
Working With Pressed/Dried Flowers In Resin

What resin should you use?
Craft Resin’s epoxy resin is the perfect resin to use for casting flowers in (we know, we would say that, but it really is). Our formula has non-yellowing technology, it stays clear (unless you add colours to it) and also creates minimal bubbles if used correctly. This makes adding flowers into our resin a much easier process than you might think.
When using the resin for this project we would recommend letting the resin sit for a short while before placing your flowers in it so that any bubbles that do appear rise to the top and you can disperse them with a heat torch before adding in the flowers.
Should you use dry or fresh flowers in resin?
When casting any natural object into resin, like flowers, you should always use completely dry objects, if you used fresh flowers these could trap moisture in the resin which then has no way to escape and will eventually rot the flowers.
You can dry your flowers by placing them in forestry silica gel beads. Simply prepare the fresh flowers to how you would like them to stay looking when dry and then place them into a container with the gel beads, make sure they are fully covered and then leave them over night. You can tell the beads have soaked up all the moisture when you see the beads turn a different colour.
If you don’t want to use silica gel you can use the old school method of pressing your flowers between book pages. Make sure the book you use has’t got glossy pages, because this won’t soak up any moisture, you want a book with matt pages. Simply prepare your flowers then gently place them on one of the middle pages of the book, close the book and then leave for at least a week. They may need longer, depending on how thick they are, so it’s best to check and allow for this extra time if needed.

Can I pour it all in one go, or will I need to layer my project?
You will need to build your project in layers to achieve great results with Craft Resin and flowers, they are so delicate that they will naturally float to the surface in thicker pours. If you don’t pour a thinner layer of resin and then allow it to dry slightly before then placing your flowers where you want them to sit, they will all float to the top, move out of position and even stick out of the project.
After the first layer has set, you can then start pouring more layers and build your project up to the top of your mold.
The other reason why you want to do flower projects in layers is that the exothermic reaction can have an effect on your flowers and damage them. When you mix and pour larger quantities of resin, the exothermic reaction makes the resin mixture heat up. This causes more bubbles in the mixture because the cure is happening too fast, and it could essential cook your flowers in the resin which can bleach the flowers and change the colour of them.
Working in layers will enable you to set your flowers in the right position, controlling the exothermic reaction and also enable you to get rid of any bubbles that appear as you go.

Will all flowers work well in resin projects?
The answer to this is no, not all flowers will work in resin projects, so if you have a particular type of flower that you want to use, it’s always best to test it out in a smaller project first. And again referring back to the beginning point, don’t test this with sentimental flowers, get some to try that have no sentimental value to anyone!
One way to test this is to paint the resin mix onto one of the petals of the flower of choice, leaving that to set and seeing if it has any effect on the flower, such as a colour change, which is the most common problem to have.
It’s also worth noting to try to only work with flowers that aren’t damaged in any way. Sometimes resin can seep into damaged flowers and cause them to go translucent. This shouldn’t happen to flowers that aren’t damaged in any way. This is a good thing to look out for when casting wedding flowers, sometimes these flowers have had on hell of a party to survive and many of them can be damaged in the process of having fun. Try to pick the ones that have survived if you can.

We hope you enjoyed this information and it’s helped you learn all about casting flowers in your epoxy resin creations. As always try these techniques out and have fun in the process, thats the best part of being creative!
To add to the fun…
Exciting news just in!
We are launching a new Giveaway on our Instagram channel which will be released every Monday and will be linked to the how to topics that we share.
Every week on Monday (afternoon GMT/BST) we will be launching a new subject for our Topic Of The Week. To help us spread awareness of this topic, so that more people benefit from this information, we have attached a GIVEAWAY to the post!
These will run throughout the year and each week corresponds to the week in the year, so we’re starting on #CRWEEK31.

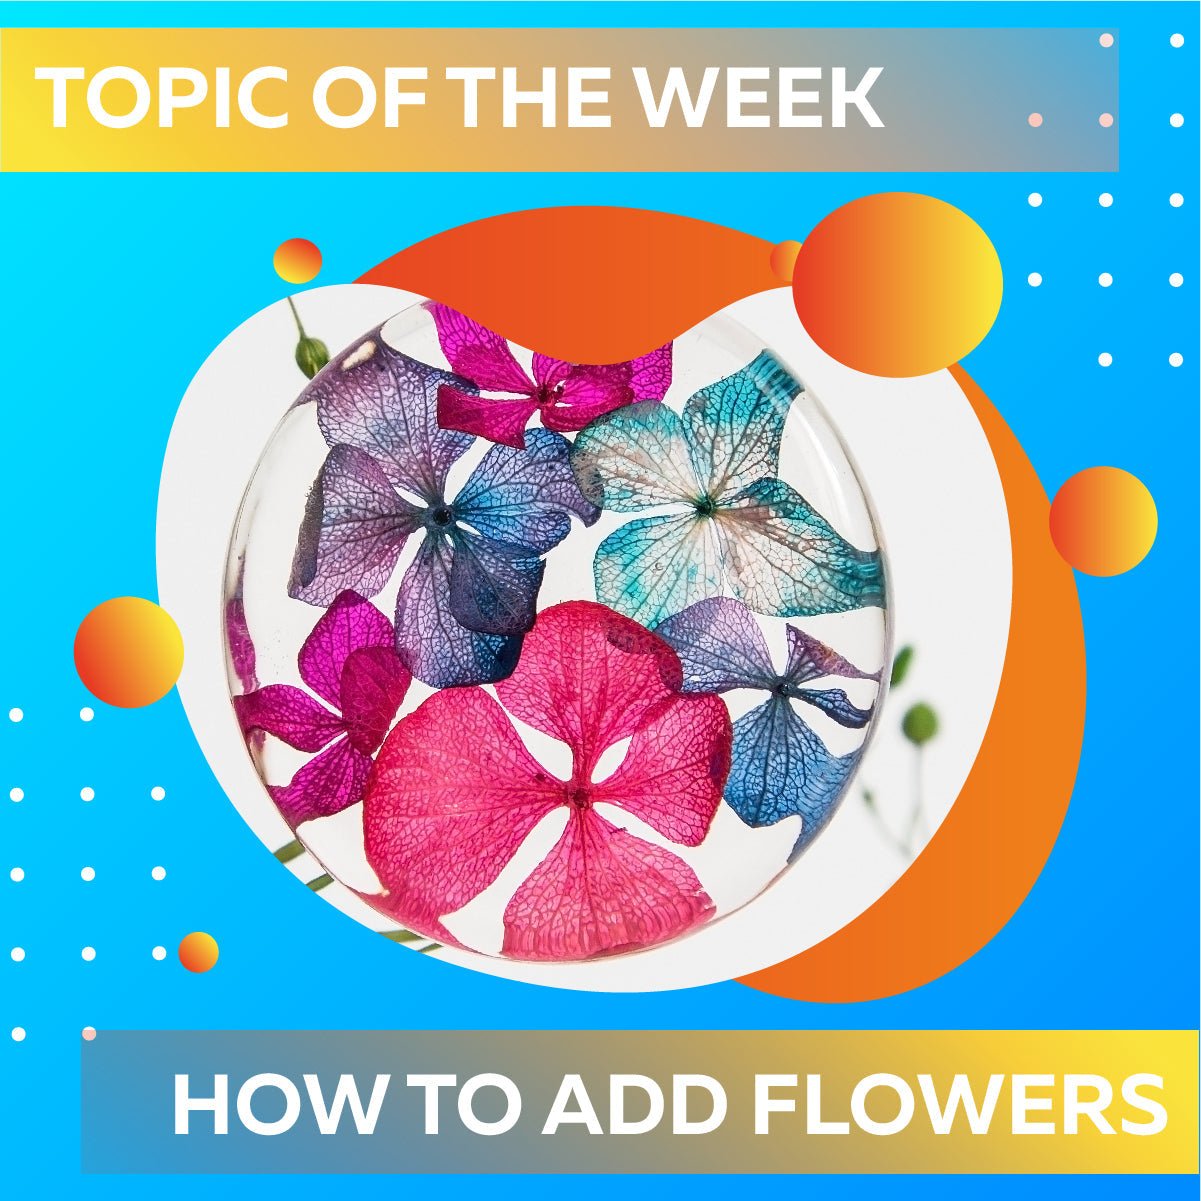
This weeks Topic Of The Week is: How To Add Flowers In Epoxy Resin
The giveaway will be live tomorrow Monday 1st August - Check out our Instagram Channel tomorrow to see the post and find out how to enter (details of how to enter are in the post, these must be followed to win!).
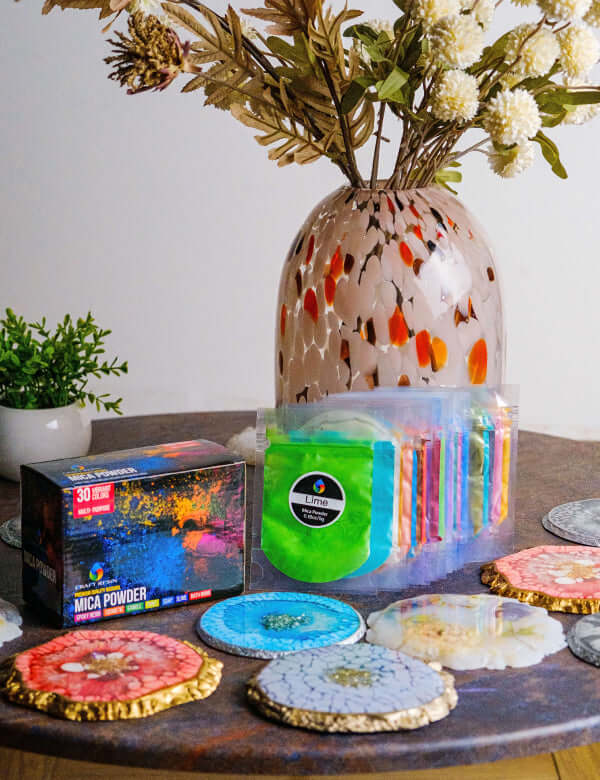
The winner will be chosen at random and so will allow for Instagram accounts of all sizes to win the weekly prize of a 1 Litre Starter Kit and Pack of 30 Mica Powders. The only stipulation is the winner needs to reside in the UK, EU or US so that we can send the prize out to them.
The winner will be contacted by Craft Resin personally, so please do not give any personal details to any other accounts, and we will send you a link where you can fill in your shipping details and then we’ll get your prize sent out to you asap.
We are very excited about this and we know so many of you will be too - Keep your eyes peeled every Monday to enter.
Good luck!
Team Craft Resin
