


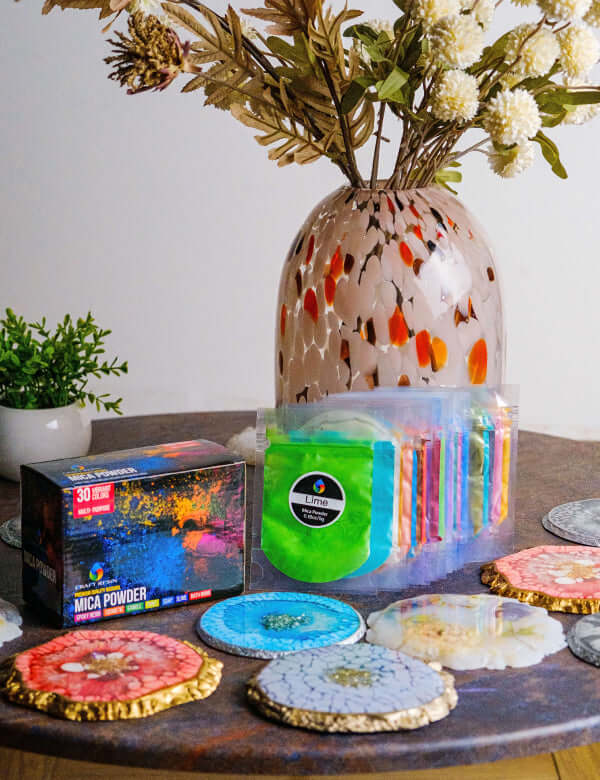
Last week we talked about finishing off the edges to epoxy resin artworks, but this week we want to delve into the world of edging coasters. The techniques in this guide can also be used to edge other projects too like trays, bowls etc.
When you take your cured resin project out of its mold, it can have quite sharp edges to it or a lip, unless you’ve domed your work or have filled it to exactly the sweet spot. Don’t worry if this happens because you can easily fix it so the coaster is smooth and even all the way round.
First of all before you sand, make sure you have your respirator or face mask to hand, when sanding tiny particles can get into the air and you can breathe them in, this will stop that happening.
If you do sand it down you want to start with a rougher sand paper and work upwards to a softer one, so the lower the grit number of sandpaper the rougher it is, the higher the number the softer it is. 1500 - 2000 grit are great sandpapers to use because these are so soft that they won’t end up marking the top of your coaster if you do accidentally catch it.
If you also spray your sandpaper with a small amount of water, this will also stop lots of the fine dust from getting into the air and keep the mess down.
To sand the edges simply lay the sandpaper flat on an even surface and lay the coaster with the lip facing down onto it. Using circular motions move the coaster around the sandpaper, smoothing the edges, but keep checking that it’s not touching the main part of the coaster every now and again.
You can even sand down only far enough to take the edge and roughness away and leave a small amount of lip sticking up, where you can then add in a top coat further down the line.
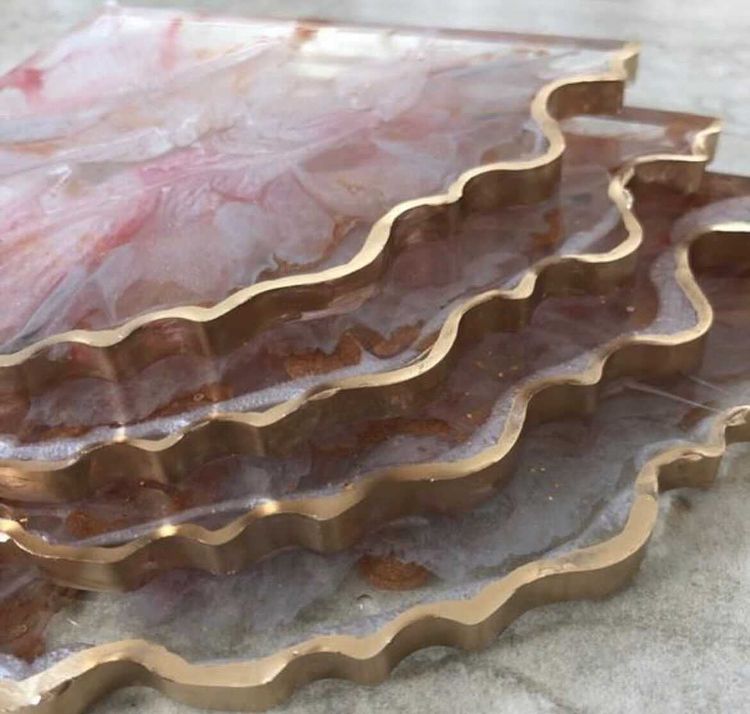
Once you have sanded the sharp edges down a bit, you can then rinse off the excess sandpaper residue from the pieces and then dry them thoroughly. Then it’s time to give the edges a touch of colour and opulence if you so wish.

Gilding the edges:
Place the coasters onto a raised surface, something like individual plastic cups turned upside down works really well. You can then take your liquid gilding paint or pen in the colour of your choice and finish the edge of your coasters.
If you are using a pen this can simply be drawn onto the edges, do take your time here it can be a bit tricky. If you are using the paint you can apply this with paintbrushes or what can also work well is cotton buds (Q-tips).
Make sure you shake the paint pot first before opening, to mix the paint thoroughly, then dip your cotton bud into the paint covering the cotton wool part, you may then need to scrape off excess onto the side of the paint tub so that it doesn’t dry when using.
Then simply part this onto the edges of your coasters as delicately as you can. If you do get it onto other parts of the coaster, it is best to try to remove it straight ways before it dries and you can do this with white spirit (mineral spirit) on a small cloth.
Once the edges are done and covered, you can then also put a little bit on the very edges of the top of your coasters too, this gives it a lovely finish, but does need some steady hands. The great thing about doing this while they are placed on cups is that you can rotate the coasters round as you do this.
Then leave them to set, overnight is best. The next day they will be ready to topcoat if you wish to do this to them.

Topcoating:
To do this its best to protect the backs of your coasters before applying the top coat, you can do this with a layer of liquid latex.
You can simply add this onto the bottom of your coasters with a paint brush and leave the coasters upside down to dry, it doesn’t take long to dry and will dry clear.
If you have used the liquid latex, make sure you run your fingers round the edges of your coaster to make sure that none has got onto these, if it has wipe it off before applying a topcoat.
To apply the topcoat of resin, mix a small amount of resin that will cover the top of your coasters, leave this clear. Once fully mixed simply pour a small amount into the middle of each coaster. Don’t worry if bubbles do form, these can be dispersed further down the line.
Make sure you are wearing gloves, if you haven’t been to handle your cured pieces. Then move the resin from the middle of your coaster to the outer edges with circular movements with your finger. This is sometimes easier to do if you pick your coasters up from the cups to handle them. All you’re doing is pulling the resin from the middle with your finger till it’s covering the whole of your coaster. This will self level, so don’t worry if it looks bumpy at this stage.
Then get some of the resin on your fingers and rub it around the edges of your coaster too. Not enough so that it drips, but just enough so it seals in the gilding paint/pen colour. This gives the coaster and the edges that little bit more protection.
You can then place your coaster back on the cup to dry. If you can see bubbles then use your torch to swipe over these to disperse them before leaving to cure. If there is a chance of any dust or dirt getting on them whilst curing we would also recommend covering them to keep them clean.
This type of edging technique can also be used on other projects that look beautiful with a metallic edge such as trays, bowls and even jewellery.

To learn how to make a epoxy resin coaster, please visit our websites learn section:
You can also find out lot's more information like the heat resistance of Craft Resin and the recommended technique to using Craft Resin, which will assist you in learning the techniques needed to create projects like this from start to finish.
Team Craft Resin