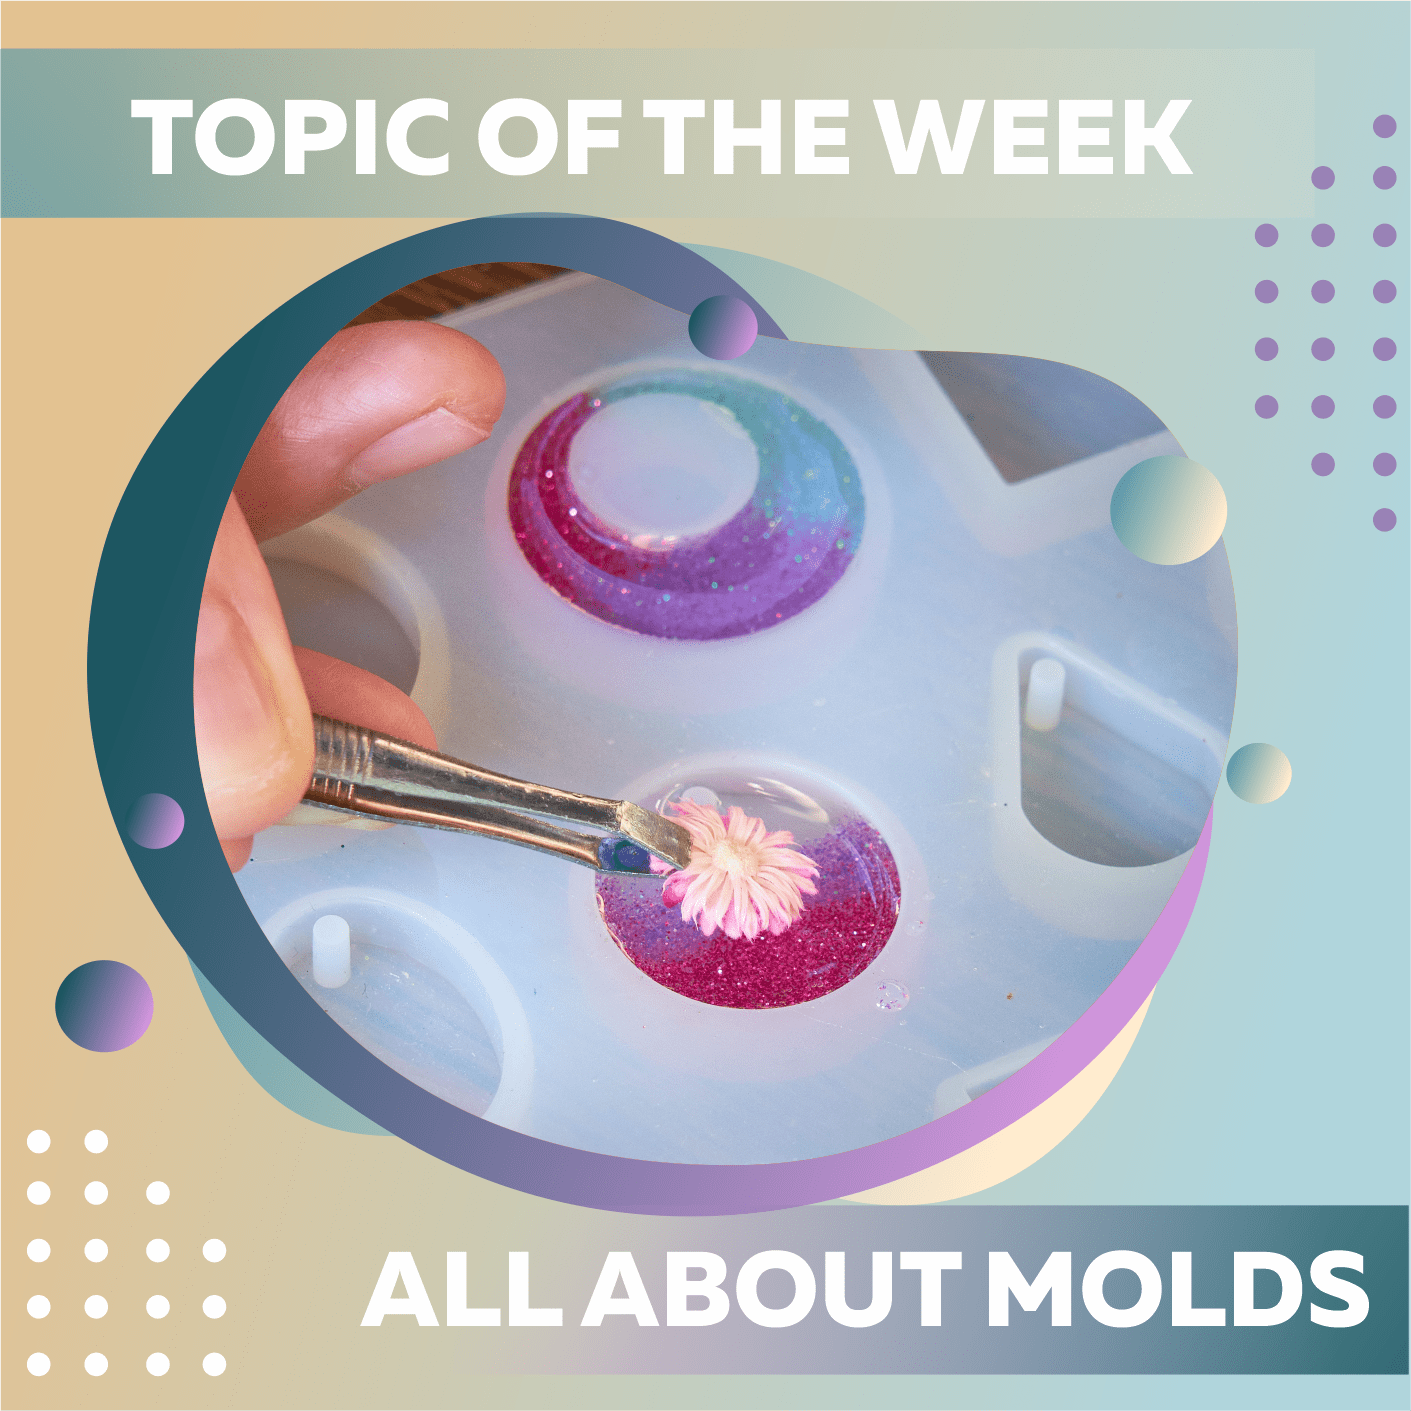
In today's blog article, we have made the exciting decision to delve into the intriguing realm of molds. Because the epoxy resin is a liquid and ours is a low-viscosity resin, which means it is very runny, you may need to cast your creations in a mold to maintain their shape while you are working with it.
When working with Craft Resin for purposes like covering artwork or filling gaps in the wood, etc., the use of a mold is not necessarily required. When working with resin, however, a mold is nearly always required to complete tasks such as making cake stands, coasters, and jewelry.

This blog will focus on the following areas of interest:
Find out:
- What may be used as molds and how to make your molds;
- Where to get molds;
- How to prepare and clean molds;
- What else can you do with molds?
- How to store them
Molds come in a broad range of shapes, sizes, materials, and designs. Which one you choose will depend heavily on the nature of the structure you want to create.
What may be used as molds and how to make your molds;
When creating your mold, the most basic option is to use sellotape or brown tape. They may be used to sketch the outline of a form on top of non-porous boards, creating a dam that can be filled with resin. A mold may be created from the form. To prevent the resin from sticking to the tape, bend it over so that the sticky side is facing away from where the resin will be poured. To avoid having the shiny side stick to the resin, pour the resin from the epoxy resin pro kit into the void.
The board and tape may be taken away when the object has been given enough time to cure. The main thing to keep an eye on here is that your tape is completely sealed, leaving no gaps behind; you may want to stack it up to achieve this.
One potential drawback of using tape is that it might be difficult to bend it into an exact fit for your needs. This means that when the object has dried, it may need further sanding to get the desired look.

You may use any plastic container as a mold, but silicone cake molds already in your possession will provide the most accurate results. However, the complexity of resin removal in the future is proportionate to the kind of plastic used in the first place. The ease of removal is a major benefit of silicone.
If you are removing the item from plastic containers, you may need to cut them away depending on the kind of plastic that was used. Avoid using anything that you don't want to have to harm to remove the resin. After that, the project needs more sanding so that it has the intended appearance once again.
The essential thing to remember when making your molds is to be prepared for the process to need some trial and error and to acknowledge that the results may not initially be precisely what you had envisioned for them.
You can acquire items such as open-back bezels if you're manufacturing something like jewelry, and you can also obtain closed-back bezels in a wide variety of forms and designs. These will remain and form a part of the jewelry item that you are producing, so they might provide an additional air of sophistication to the ensemble that you are putting together. When you add resin to them, along with a wide variety of different colors and designs, they may be transformed into stunning pendants.

Silicone is one of the greatest materials to make molds since resin does not attach to it very readily and is quite flexible. As a result, it is not too difficult to remove the resin from the mold after it has completely dried. There is a tonne of tutorials on YouTube that will walk you through the process of making your silicone molds, which is something you can do.
You also have the option of shopping online for a wide variety of silicone molds, any of which can be purchased at prices that are quite competitive, given that the molds may be used more than once.

Silicone molds may cast almost anything, from coasters to pyramids to female-figure sculptures. The silicone molds available for purchase include a dizzying array of shapes and configurations.
A release agent is money well spent when it comes time to remove your completed product from the mold. The piece will release more easily from the mold as a result. This is especially useful for larger projects, and it lessens the likelihood that you may damage your work or your mold in the process. You may get them on Amazon once again; search for "mold release spray for resin," and many results will up.
Where to get molds;
Because molds are such an essential part of working with DIY resin starter kit, we have provided some resources for obtaining them, even though Craft Resin does not sell them directly to customers. This is because molds come in a wide variety of shapes and sizes.
There is a large number of small businesses that create molds in a wide variety of dimensions and configurations; some of these companies may even modify their offerings to meet your particular specifications. When customers have a pleasant encounter with a neighborhood business, they will often recommend that organization to the other members of our Facebook group.
Molds may also be purchased online from retailers like Amazon, eBay, and Etsy, among others. Anyone who has made anything that you find appealing will probably tell you where they purchased the mold, and some of them will even provide you a link to a discount website where you can get it at a lower price.
Be mindful of ordering molds online if you want the final items you make to have a glossy finish. Some of the molds available online have a matte surface and cannot be polished to a sheen as other molds can. When you use Craft Resin with standard molds, you will automatically get a wonderful glossy surface without having to make any additional effort.
Maintaining the health of your molds:
Even though molds do not have an unlimited lifetime, it is possible to maintain them in pristine form for an appreciable length of time, according to the guidance offered below.
If you've seen a decline in the quality of your resin work over time but haven't made any changes to your workflow or switched resin suppliers, you should take a closer look at the molds you use to cast your resin. If you look at the work you've done with resin, you'll be able to tell when a mold is no longer usable.
Even though silicone molds are going to be the primary topic of discussion in this blog, many of the recommendations may also be applied to other kinds of molds.
How to prepare molds;
To prevent bubbles from forming on the mold side of a project, some individuals treat their molds with an alcohol mist or spray before using them. If you have bubbles beneath your product while it's in the mold, you may use a heat gun to get rid of them from the top but not from the bottom.
This may be because you are using Craft Resin since the mere process of warming your resin will usually assist bubbles in dispersing. Make sure there is enough air in the room and that you are wearing a mask or respirator if you decide to use alcohol mist or spray on your molds.
Alcohol mist/spray may catch fire, so be extremely cautious when using a flame near your molds after applying it.
If you can avoid starting with this step, we recommend skipping it to see how things go.
Silicon release spray that you can use to prepare molds for resin casting; when a light coating is applied and allowed to sit for a minute or so, the resin can be poured into the molds. When the resin has been set, and you want to de-mold it, this method will make it much simpler for the resin to release from the mold.
How to clean them correctly;
You shouldn't worry if some resin leaks out of your moulds during the pouring process since silicone moulds, in particular, make it simple to remove extra material after curing.
When you're done using epoxy resin colouring and have removed your creation from the mould, it's time to clean it thoroughly. Gentle peeling with your hands or washing off with something light like baby wipes may be all needed to get the initial resin out of the moulds.
- The resin may be tough to remove from a mould, so if any stubborn bits are left behind, try immersing the mould in hot water (not boiling water) for a while.
- Alternatively, you may set the mould in the freezer for ten to fifteen minutes to get the same outcome without having to throw away the mould.
- Alcohol may damage mould and hasten its decomposition. Therefore, it's best to avoid using it while cleaning mould. It might also dull your mould, reducing the reflective quality of your resin goods. If you see this happening, getting a new mould is your only choice since there is no way to prevent it.
- To remove mould, you'll need to use warm, soapy water, such as you'd get from your typical dishwashing detergent. The moulds may be cleaned in soapy, warm water for about 15 minutes.
- The resin may be removed from moulds using a soft sponge after soaking them for a while. Don't use the rough side of the sponge on the moulds, or you risk scratching or chipping them.
Cleaning the moulds with soap bubbles is followed by a thorough rinsing and then air drying on a clean cloth. If you wipe them dry with a towel, the threads from the fabric might contaminate your next resin project. To stop the spread of germs, you may cover them with a kitchen towel.

What else can you do with molds? How to store them?
When your molds are completely dry, you will need to select where to keep them and how to preserve them for later use. After giving them another round of drying, we spray them with a silicone release spray and then lay them away. This simple step will go a long way towards conserving your molds and increasing the time they may be used for their intended purpose.
The subsequent step is to get a bag of some type to store your molds in. You may use a sandwich bag or a ziplock bag for this purpose. There you can fill with the dry molds, and as much air as possible is pushed out of the container before it is sealed.
When not in use, you must store molds in a flat, undamaged condition. This is very essential. They could have that distorted shape for the rest of their lives if they are allowed to remain in that condition. If you appropriately arrange them on a shelf, they will remain used for a very long time.

As your proficiency with working with resin increases, one of our primary objectives is to reduce the number of times that you will need to purchase new molds.
If you have any other tips that you want to give on this subject, please leave them in the comments box below this blog article. We would appreciate it.
Topic Of The Week Giveaway:
We have attached a giveaway to this Topic Of The Week announcement on our Instagram platform; this is helping us to spread the knowledge of how to use epoxy resin further, but also enabling anyone who helps us to share this information to win free resin and mica powders.

To enter the weekly giveaway, please see the latest post #CRWEEK44 on our Instagram feed/highlights and follow the instructions to enter:
We hope you get lots of use out of your molds and you get to create from them for many years to come.
Team Craft Resin

