


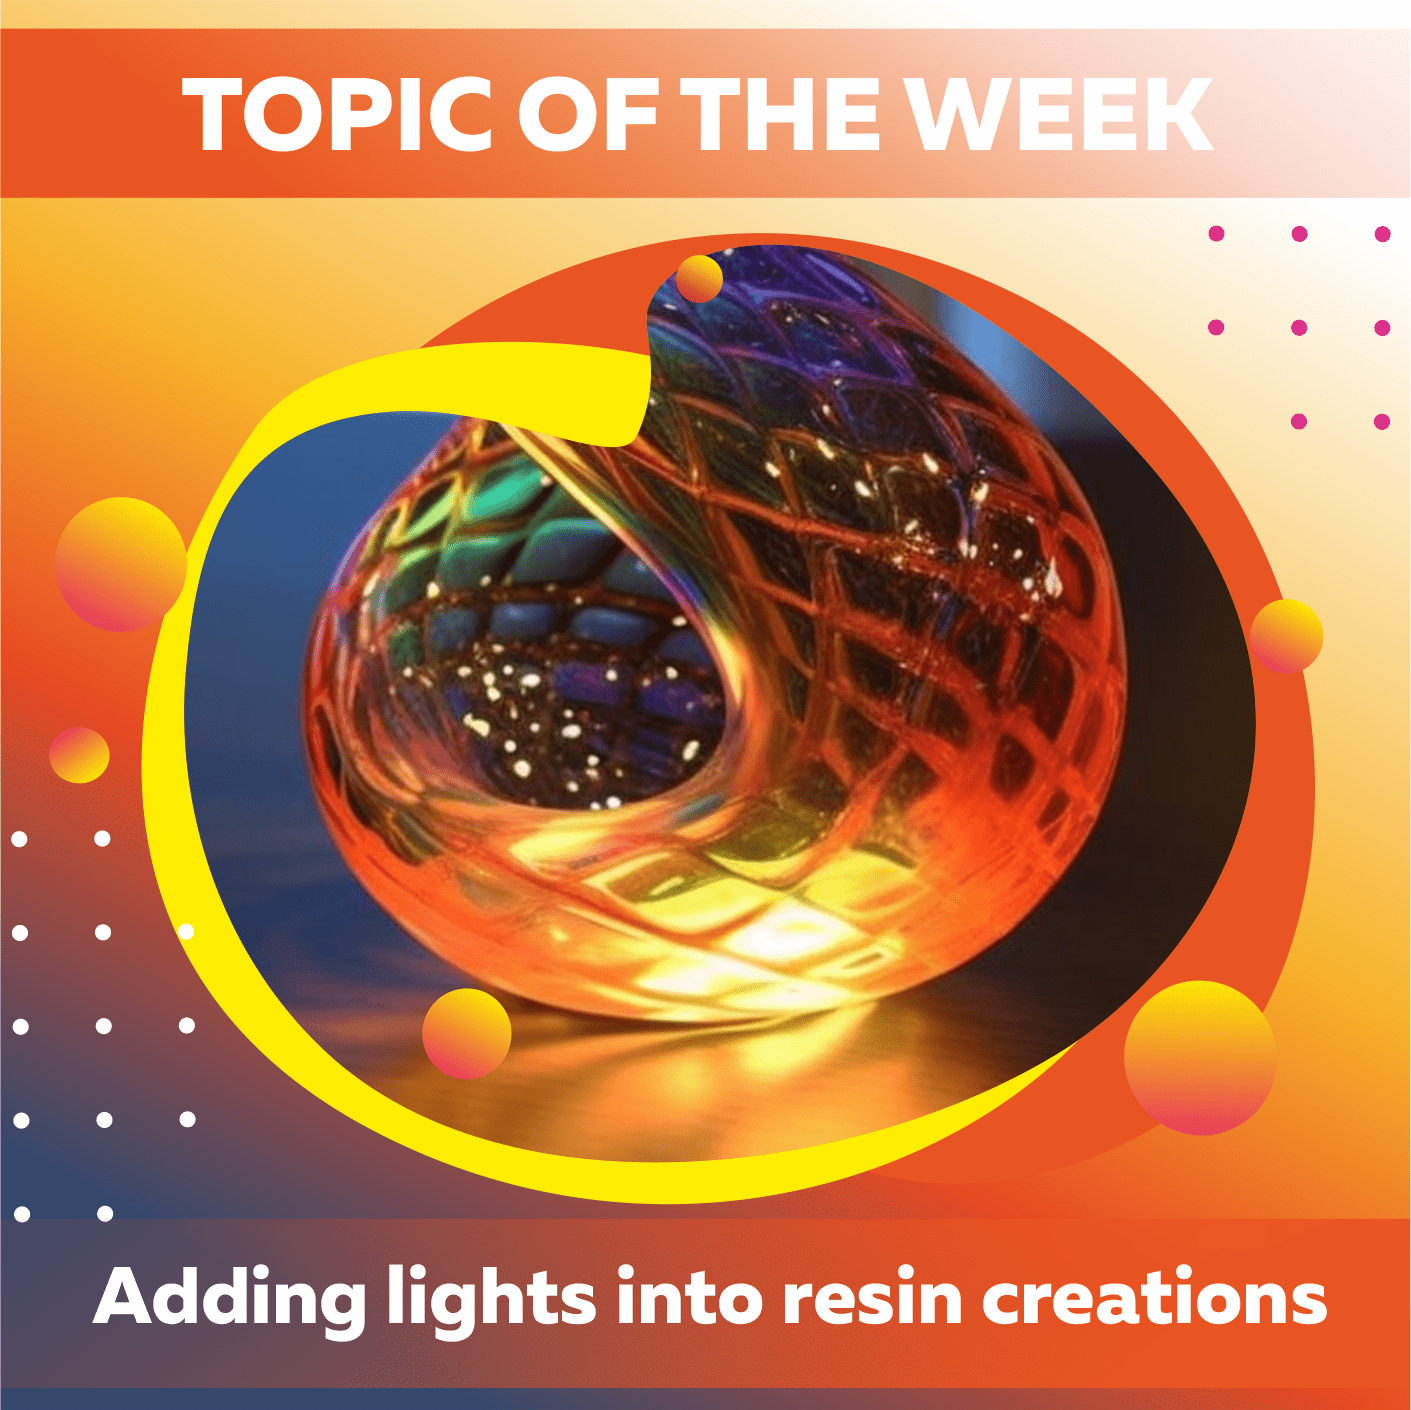
As the seasons change and the days become shorter, there will soon be a significant increase in the number of people who spend their nights inside their homes with the lights turned down low. If you sell resin crafts and you want to offer your customers something more special this holiday season, including lights in your works is a fantastic idea for you to consider.
Keep reading to find out how to cast lights into your projects...

When working with resin epoxy starter kit, utilize bright lighting such as LEDs. Online retailers have various sizes, colors, and lengths at reasonable prices. LED lights are great since they don't become hot to the touch. However, resin shouldn't be used near lights that generate heat. This is because resin may react to heat by softening and becoming more malleable. The kind of LED lights you require will depend on the nature of your project; for instance, if your endeavor is somewhat low-key, you may choose LEDs with lower lumen output.
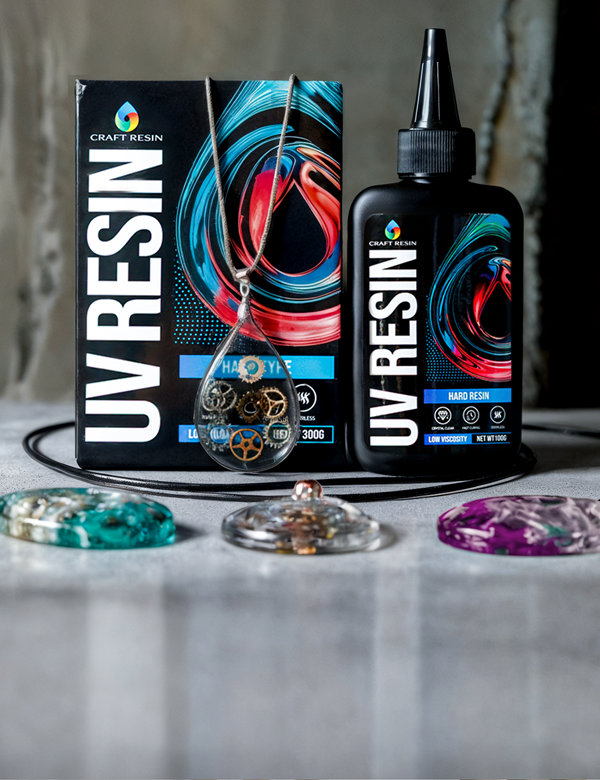
Get your workspace ready in the usual way to get started. Take all appropriate precautions while working with resin, including covering your workplace in case of a spill and keeping all relevant equipment close at hand. When working with resin, you may only sometimes have time to stop what you're doing and get additional equipment.
The resin may be embellished with colors and additives such as glitter and lights to get the desired look. It's conceivable that you only need to add less color to the resin to make it as see-through as possible so that the lights may shine through. The most enjoyable aspect is discovering the ideal color scheme by experimenting with the different light settings.
Because the lights will reflect and magnify the glitter, making it stand out more, you may only need a little amount of an additive like glitter if you utilize them in your resin works. This is because the glitter will become more noticeable due to the lights.

To start, start by mixing your gallon clear epoxy resin and then adding your colors. You've come to the correct place if you're searching for our advice on measuring, mixing, and pouring resin; it's all laid out here. Put the resin mixture in a separate bowl and set it aside while you prepare the lights.
If you want to test whether or not your lights will come on before you place them in the mold, you may do so by scrunching the wire up or coiling it to the desired shape. This will give you a good idea of how it will appear in the final product.
Ensure the plug and battery pack are not in the mold now. Make sure to leave extra cable at the end of your project if you're using LED lights with a plug so that the plug isn't jammed up against the wall outlet when the light is plugged in.

After you've positioned the lights in the mold to your satisfaction, you may pour the epoxy resin mixture in as normal. You can accomplish this even if your project is more ambitious, uses a resin with the same layering requirements as ours, and incorporates lights. It may be sufficient to keep an eye on the lights while layering to ensure they don't shift out of position as you wait to pour the next layer. If this is the case, then you need to maintain vigilance.
After the project has been poured, the bubbles may be burned out normally. If you're doing this while wearing many layers, though, you should be careful since you may need to be particularly cautious with the torch near the lights themselves.
At this point, you should stop working on your crafts and let them dry. Click here to read more about our curing times. Curing times for different resin brands may be very different.
After the projects have dried, you may take them out of the molds and switch on the lights to see how they turned out. The room's darkness directly correlates to the quality of the projected images.
After that, you may finish your crafts normally, just like with any other project, by cutting the borders and wiping up any accumulated drips over your mold.

We hope you have a blast experimenting with various lighting techniques for your projects. If you wish to share images of anything you've built using resin and lights with us, please use the hashtag @craft. resin.
Your incredible creations never cease to surprise us, and we take great pride in seeing you learn and grow as you go into the world of resin with us.
Team Craft Resin