


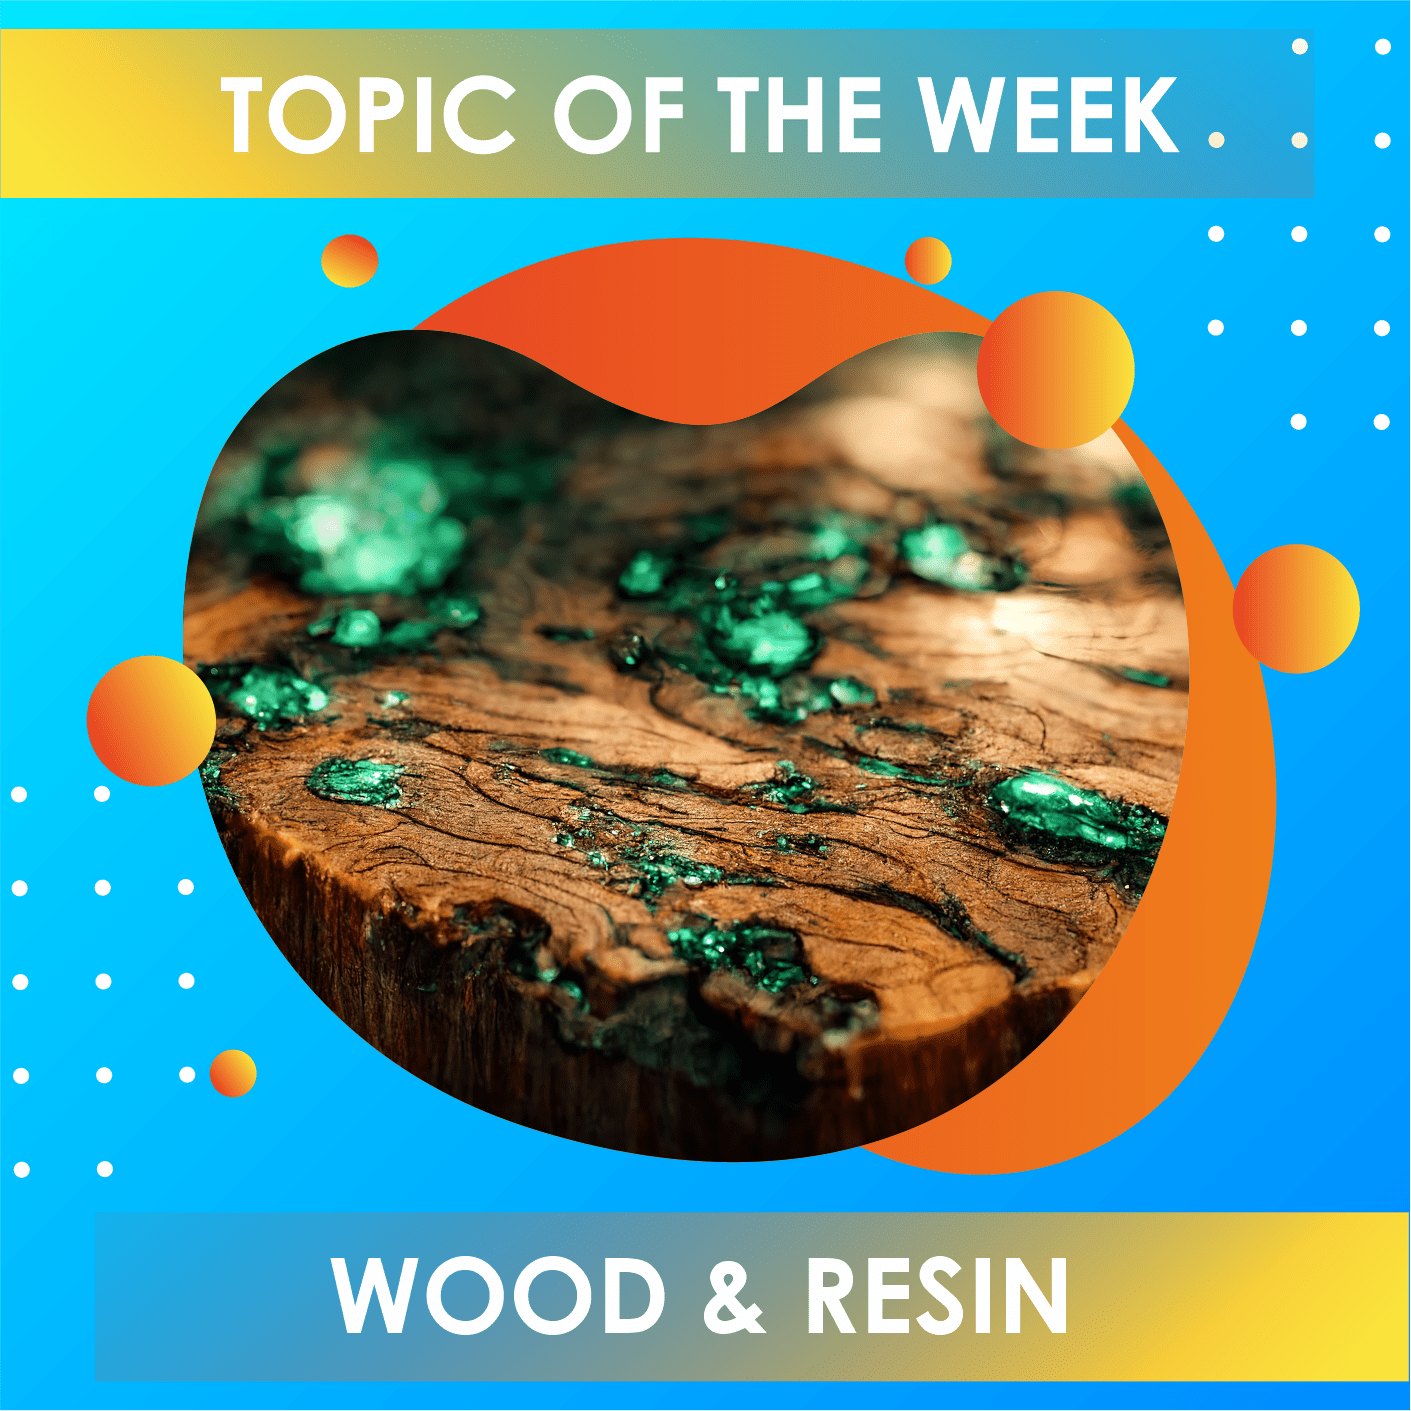
Working with wood and epoxy resin can create the most beautiful creations, adding clear epoxy resin to wood can bring out the detailing in the grain, and adding coloured epoxy next to the wooden elements can really make your creations pop.
Working with wood and epoxy resin has become extremely popular over the past couple of years and it’s not hard to see why.

Combining wood and epoxy resin you can create anything from Resin Tables, to Resin/Wood Chopping Boards, Skateboards, Surfboards, Bookmarks, Jewellery, you name it you can probably combine the two and create it. It also works wonders when up-cycling old wooden furniture, you can create all kinds of colours and patterns on it and bring it back to life.
For some projects a good understanding of working with wood is beneficial, some projects can be very complicated and take a lot of expensive tools to create, but others can be more simple and still look as impressive.
Today we’ll take a look into the basics that you will need to know when working with wood and epoxy resin, we’ll share with you how you can get started and dip your toe into the world of wood and epoxy resin.

What wood can I use?
When working with wood and epoxy resin lots of woods are suitable. However you may want to experiment on a small off cut before creating something larger as different woods may look a different way once the epoxy resin has been applied. Applying epoxy resin can give a wet look to the wood and therefore make the project appear darker than it did before applying the resin.
Although you can use most woods alongside epoxy resin, one of the best woods to use is the flattest piece of live wood you can find, woods like Yew, Elm, Oak or Black Walnut look really great when used with epoxy resin.
You will need to ensure which ever wood you choose it is below 12% moisture content before applying epoxy resin to it. Any moisture that gets into epoxy resin can create issues along the way.

Do I need to prepare the wood?
Before applying epoxy resin to any wooden creation you will need to prepare it. If you are using one of the woods mentioned above then you will be able to simply sand these down to enable the epoxy resin to bond to it, make sure you use a sand paper with a grit between 80-120, and wipe any sanding dust off the project before adding the epoxy resin to it.
If you are using a wooden creation like an MDF board then you will need to paint on a primer like Gesso or a standard emulsion or acrylic paint that is left to fully dry for a couple of weeks at least, in order to create a surface that the epoxy resin will bond to. MDF and some other woods are very porous and therefore the resin will be absorbed by these woods without applying a primer. Again testing an offset of the wood you will be using will help you find out if the wood you have needs this extra step or not.
If you are coating a wooden board that you have painted artwork onto then again this will need to be fully dried before applying the resin to it, this can take a long time depending on what paint you have used and how many layers of paint have built up. It’s better to wait longer than you need to, than waiting too little a time. If you are selling your work and it needs to be created in a certain time frame, then make the person buying the project aware that this kind of resin creation does take longer, then their expectations will be set and you won’t have to rush a stage to get it finished in time. If the project takes a very long time then you can send them progress pictures and updates to keep them excited.

Do I need to prepare my work area?
You will also need to prepare your work area before applying the resin to your wooden projects. As epoxy resin is fluid, very sticky and can create a mess which can’t always be removed from some surfaces like carpets for example. Please cover all surfaces and flooring with plastic sheeting before pouring any resin.
Also epoxy resin needs the temperature in your workspace and curing area controlled for the first 24 hours of the curing process (longer if creating large projects, thick projects, multiple layered projects). The temperature needs to be between 21-24C or 70-75F whilst working with epoxy resin, cooler temperatures can cause issues when curing.
Wen working with larger wooden projects, controlling the workspace can be difficult, if you’re working with wood you may be in a shed/garage area and so you will need to think about heating systems that you can put in place that will keep the temperature consistent during this stage.
Your work area also needs to be as clean as possible, which again can be difficult in a wood shed/workshop. Because epoxy resin is such a sticky substance, it almost attracts dirt and dust to it, if your workshop isn’t clean then there is a good chance that something will end up in your project. Clean the space around your project as much as possible when you’re adding the resin section.

Do I need a mold, if so what mold can I use?
Epoxy resin is a fluid substance, it only hardens up once it has cured, and so it will move as liquids do. You will need to contain it when adding it to a resin project, if the wood has holes that you are filling with the resin then this will contain the resin and you won’t need a mold. However if there are gaps or edges that aren’t enclosed you will need a mold to contain the epoxy resin liquid while it cures.
You can make your own mold or barrier around the surface you need to seal. We recommend using a high-quality adhesive tape, which has proven to be relatively stable, for this use, for example Tuck Tape. Correctly applied, it usually withstands the relatively low pressure of the liquid resin and can be removed again relatively easily.
However, before you fill the surface with resin, the surface should be levelled by placing wooden blocks or other aids underneath. If you use a spirit level, this will tell you if it is level or not before you pour the resin in.
You can buy ready made molds for casting wood resin projects from places like @makersreusablemold, these can even be reused again and again, and although an initial outlay, may be worth it if you are going to create multiple projects of the same size.
You can also free flow resin to wooden projects, however this will flow over the edges which can create an incredible look, but be aware that you will waste some resin and you will need to put plastic sheeting below the project to protect what’s below it as you pour. If you are free flowing your resin over your wooden creations please stand your project on something, like upside down plastic cups, so the resin can flow over the edges and doesn’t get stuck to what’s below it.
As it flows over the edges drips may then occur below your project, you’ll be able to sand these off to tidy them up once your project is fully cured.

Do I need to work in layers or can I pour in one go?
When using Craft Resin it was originally designed as a coating resin, one that can be used to coat artwork or other thinner projects. However it can be used to create thicker and even larger projects, but these will need to be created in layers.
To find out how to create in layers please read our blog called Using Craft Resin On Thicker Projects.
How long will it take to cure?
Curing times vary greatly, although our guidance suggests a curing time of 24 hours before releasing from the mold, or moving your project, this varies depending on the temperature in your curing area, the thickness of the project and how many layers have been added to it. The more layers and the cooler your workspace, the longer it will take to cure.
It is always best to leave it up to 72 hours before moving or trying to release the mold if unsure. If after this time your project still hasn’t cured, you may have gone wrong with one of the basic techniques. If your project doesn’t cure, please check the guidance in our blog called The Basics Of How To Use Craft Resin’s Epoxy Resin to see if all of the steps have been followed exactly.
It can take time and practice to get epoxy resin creations just right, so mistakes can happen along the way, they are all a learning curve and each one of them are making you a better future resin artist.

How do I finish the wood/resin project off?
Once you have de-molded your project you may need to sand down any resin that has spilled over the edges, or has raised up from any holes that have been filled in. You can use a sandpaper to even the edges and top and then work up the grit to make the item as smooth as possible, finishing with a polishing tool to help get the wood and resin item to the perfect condition.
If you are going to be using the item as a food surface then you may need to treat the wood, you will need to do more personal research to find the best treatment for the particular wood you have used in your project.
To save having to treat or sand any wooden surfaces you can always use a shop bought wooden chopping board that has already been treated and then simple add some resin bling to one corner/side of it to add that extra touch with ease.
We do have a free course which explains how to create a Wood/Resin Chopping Board from scratch or we have a free YouTube video which explains how to add resin to a shop bought chopping board called Creating A Simple Wood/Resin Chopping Board For Beginners.
As with anything resin related please do plenty of research before using our resin for any projects, especially the larger more technically advanced project, resin isn’t always the easiest to use if you are new to it and it can go wrong so always find out as much as you can before you start, and always practice on smaller projects before attempting larger ones.

Topic Of The Week Giveaway:
We have attached a giveaway to these Topic Of The Week announcements on our Instagram platform, this is helping us to spread the knowledge of how to use epoxy resin further, but also enabling anyone who helps us share this information to win free resin and mica powders.

To enter the weekly giveaway please see the latest post #CRWEEK32 on our Instagram feed/highlights and follow the instructions to enter:
We hope you have a great time working with epoxy resin and wood, please do tag us in any creations you do make so that we can admire and share your work.
Team Craft Resin

