


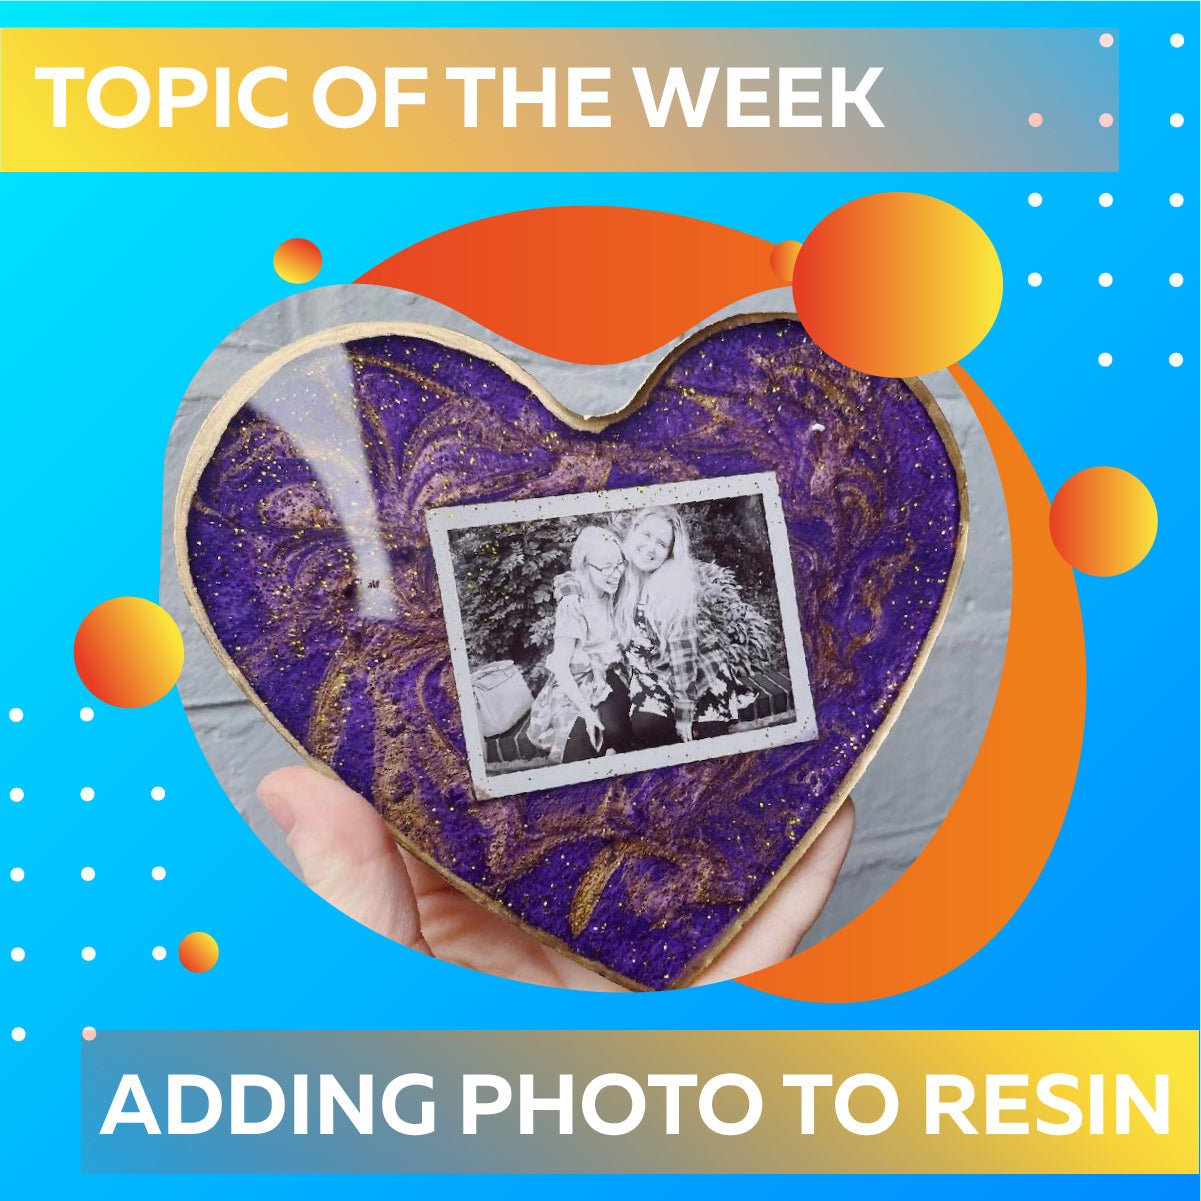
You can absolutely cast photos into Craft Resin, these actually make great keepsake items and enable you to keep your photos protected within the resin for years to come. Lots of people cast wedding photos, or memorial photos into epoxy resin which can create the most beautiful memories. To ensure you don’t ruin any sentimental photos when casting in epoxy resin please do read the guidance below before you begin!

First of all and probably the most important to note, if you have a sentimental photo, maybe of which only one exists in the whole world and you can never recreate it again - Please practise on a photo that is of less importance first. Experiment with photos that are less sentimental, perfect your resin skills and techniques and then move onto your precious photos.

Glad we got that out the way, now let's dive into more information about how to cast photos into epoxy resin creations:
Before you get started please make sure the photos have been printed on paper (glossy photo print paper works best) that doesn’t soak up the epoxy resin and disintegrate the paper.
If you print a photo from your normal everyday printer and it is onto normal printer paper for example, this won’t work. So you need the photos printing professionally, or making sure that your printer allows for photo printing on glossy photo paper. You can also use Polaroid pictures that you can instantly print, either from your phone if you have a new version, or taken in advance and then printed at the time.

If you do print your own pictures out please do ensure they dry fully before applying any resin onto them. If the photos have been printed by ink then you may need to add a primer to them, something like Mod Podge works really well to seal them and stop any ink from bleeding out.
Simply add a few layers of the mod podge to the photo using a paintbrush and leave to dry between each layer. Mod lodge will dry clear so you won’t notice any streaks or lines in your project.

If you are leaving your resin clear then you can simply measure, mix and then pour your resin into your mold, this will build the first layer to your project, you can then add your photo to the resin shortly afterwards once the photo can be displayed where you want it to without it moving around too much in the mold, or sinking to the bottom of your mold.
To learn how to measure, mix and pour the resin please view our guidance through the below blog, the key to epoxy resin projects working well is all in the basic techniques so please don’t skip reading this part:
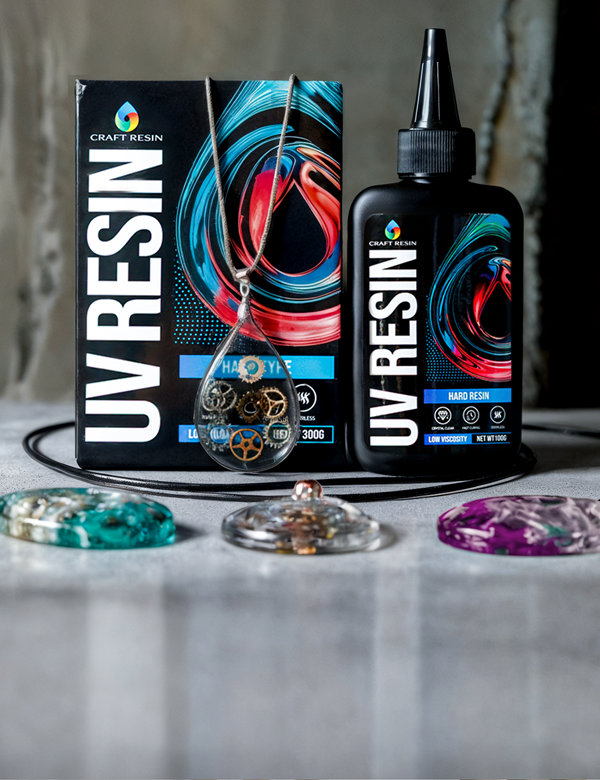
The basic techniques to using Craft Resin
If you would like to add colour to your project then you can use Craft Resin Mica Powders and mix these into some of the resin mix that will be placed under the photos layer. Obviously if you pour a colouring layer on top of your project then this will hide the photo. You want the layer on top of your photos clear so you can see the image.

You want to wait about 40-50 minutes before adding your photo to the resin mix, and gently place it on top and press it down slightly with your fingers. Doing this will mean that minimal bubbles if any get stuck behind the image.
Once your image is in place you can then add another layer of resin. The photo will have stuck slightly to the initial layer of resin meaning it will move less when the top part is poured on, if it does move more than you want it to simply use a pair of tweezers or your mixing stick to gently nudge it back in position.
Be careful using a heat torch on your project to disperse bubbles if you have only used a thin layer of resin to cover your photo, you don’t want to damage the photo at all. You might want to use an alcohol spray instead to minimise any heat damage whilst still getting rid of surface bubbles.
Then you’ll need to leave your project to cure, this could take a while as you have built it up in layers, so please do check it after 24 hours, but it may need longer before de-molding. If unsure don’t move it till the 72 hour mark.

Once your project has finished curing you can remove it from the mold and then add any finishing touches that the project needs, such as sanding down any excess resin from the very edges that may have spilled over the mold, or adding extra colours like a gold edging etc to your work.
We do have a video on our YouTube channel that also explains how to add photos into resin, so please do watch that for extra research before you begin:
How to add photos to epoxy resin
Topic Of The Week Giveaway:
We have attached a giveaway to these Topic Of The Week announcements on our Instagram platform, this is helping us to spread the knowledge of how to use epoxy resin further, but also enabling anyone who helps us share this information to win free resin and mica powders.

To enter the weekly giveaway please see the latest post #CRWEEK34 on our Instagram feed/highlights and follow the instructions to enter:
We hope you have a great time packaging your products and giving your customers an amazing experience, please do tag us in any creations you do make so that we can admire and share your work and let us know how you package your orders.
Team Craft Resin
