


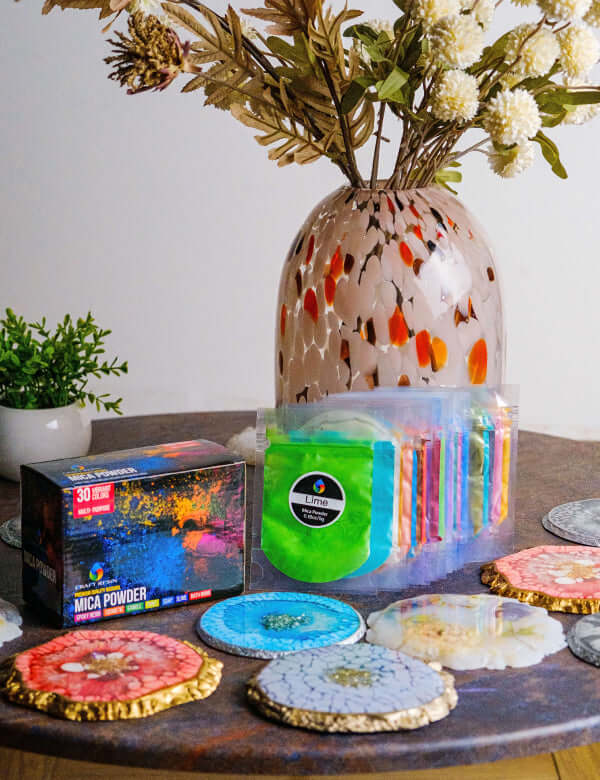
It's that time of year when the nights draw darker and the cold weather sets in, lots of people turn to candles to make their homes more cosy. But what if you could offer them a safer solution to all their cosy needs, by adding lights into some of your home ware resin creations?
Adding lights to resin projects is great as a business tool you can use to sell in the darker months, but also if you’re wanting to create something for your own home they are a really great idea too. It's also getting closer to Christmas, so maybe you could even make your projects festive themed and sell them as Christmas decorations.

Whatever your reason for wanting to add lights to your resin projects, we wanted to talk you through how to do this, so read on to find out....
The lights you will want to use in epoxy resin are LED lights. These can be bought quite inexpensively online and can come in lots of lengths, sizes and brightness. LED lights are great as they don’t get warm, any lights that heat up when they’re on are not advisable for use with resin because it can affect the resin and it can become flexible with the heat. The exact LED lights you will need will depend on your project, if it’s a small project then smaller less bright lights might be a good idea, if it's bigger you may need more and brighter ones.

First of all prep your working area as normal, make sure that you have all the safety steps set up when working with resin, make sure you have your work area covered in case of spills and make sure you have all the equipment you need close by. Once you start working with resin you don’t always have the time to run off to get more equipment during the process. You also need to ensure your workspace is set to the required temperature to enable epoxy resin to work well between 21-24C or 70-25F, temperatures below these can make issues occur.
For the resin you can use colours like Mica Powders, and additives like glitter along with the lights, so have a think about the look you’d like to achieve with your project. You might just need to add less colour to keep the resin as translucent as possible so the lights can shine through. This might take some experimenting on your behalf to get the colours just right with the lights, but this is the fun part.
Adding things like glitters can be really great when incorporating lights into your resin projects as the lights will reflect and enhance the glitter and make it stand out more, smaller amounts of glitter may go a longer way than normal.
So get started by mixing your resin and mixing in your colours. Remember to follow your resin brands guidance for how to measure, mix and pour your resin, ours can be found here. Set your resin mix to the side while you prepare your lights.
With your lights you want to test that they turn on before placing them in your mold, so turn them on and check they work. Then all you need to do is scrunch the wire up, or wind it round, to fit it in your mold in the way you would like it to appear in your project.
Make sure at this point you leave your battery pack, or plug out of the mold. If you’re using LED lights that have a plug, make sure you leave enough wire at the end so that your project can be plugged in with enough distance to be away from the plug socket, not right up against it.

Once the lights are in the rough position in your mold, you can pour in the epoxy resin mix as you normally would. If your project is thicker and you are using a resin like ours that needs to be built up in layers, you can still do this despite the lights being in your project. You might just need to monitor the lights for movement if layering, as they can move out of position while you are waiting to pour your next layer.
Once your project is poured you can then torch the bubbles out from the top of your project as you normally would, however be careful if doing this while layering as you might need to be more careful with the torch near to the lights themselves, or avoid the light area completely.

After this you’ll need to leave your project to cure. Every brands resin takes a slightly different time to cure, you can read more about our curing times here.
Once your projects have cured you can de-mold your projects and then click the lights on to see what there full effect will be, obviously the darker you can have your room the better they will look.
You can then finish off the edges to your projects and tidy them up if you got any drips over your mold as you normally would with any other project.
We hope you have a great time experimenting with using lights in your creations. If you would like to tag us in any resin creations you make with lights please do so @craft.resin
We love seeing all your amazing creations and we love seeing how you develop in your resin journey with us.
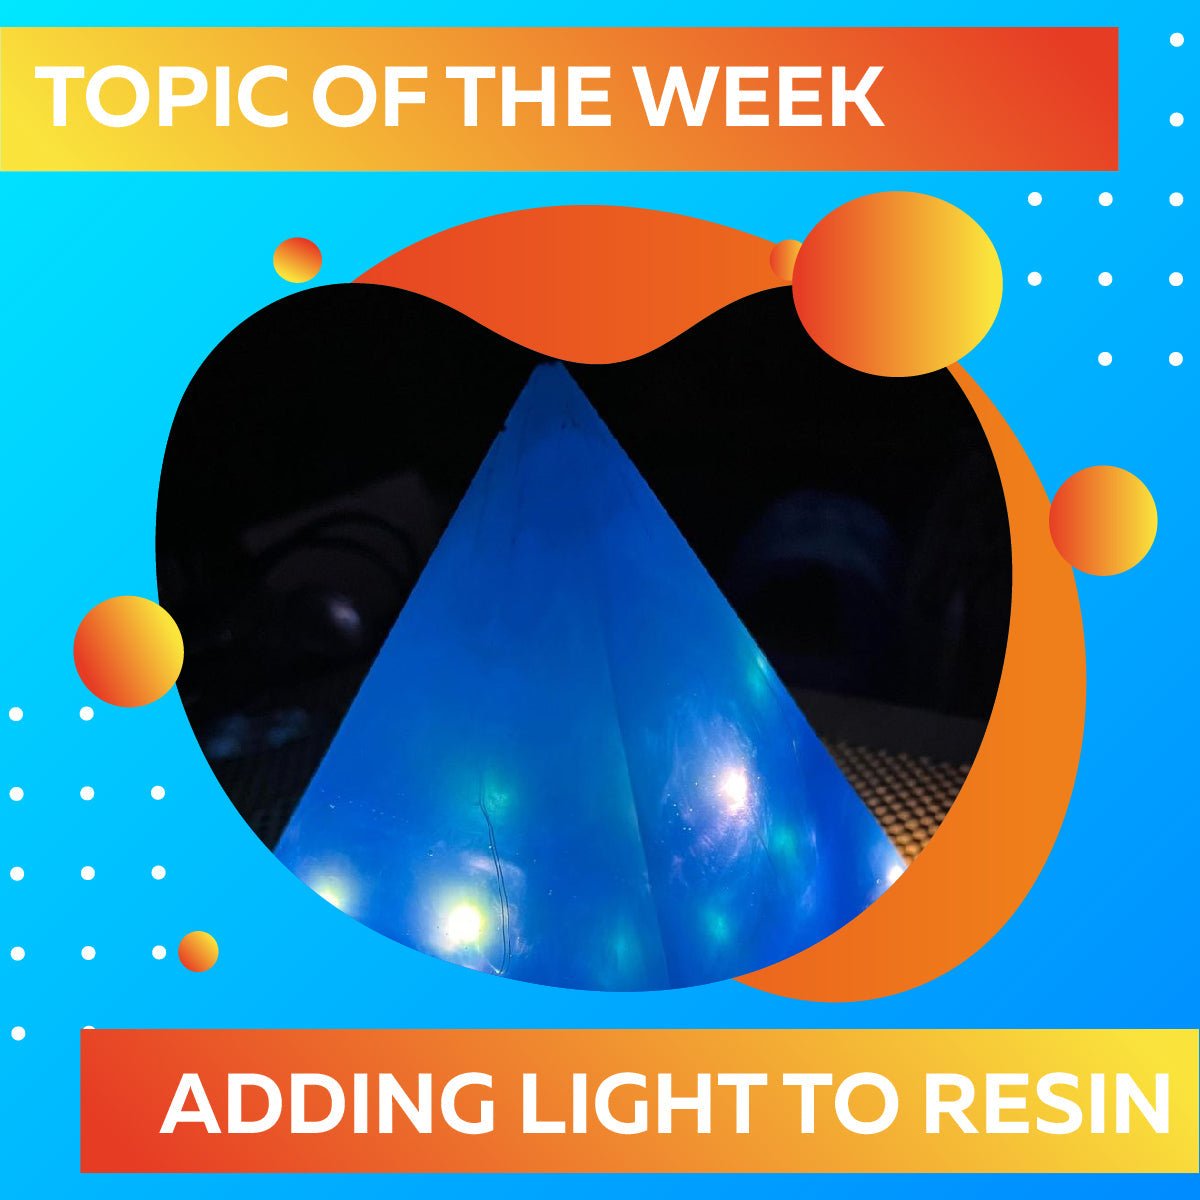
One of the artists we work closely with, Alex Kazabakas has created a free course on our Craft Resin Academy platform to show you how to add lights into a simple resin pyramid. You can take part in the course here.

Topic Of The Week Giveaway:
We have attached a giveaway to these Topic Of The Week announcements on our Instagram platform, this is helping us to spread the knowledge of how to use epoxy resin further, but also enabling anyone who helps us share this information to win free resin and mica powders.

To enter the weekly giveaway please see the latest post #CRWEEK41 on our Instagram feed/highlights and follow the instructions to enter:
We hope you have a great time working with our epoxy resin and adding lights to your creations.
Team Craft Resin
